How to integrate Mollie Payment Gateway with ARMember Pro Plugin
Overview
The ARMember Mollie Payment Gateway add-on allows you to seamlessly integrate Mollie payments with your ARMember membership website. With this integration, you can accept both one-time and recurring subscription payments using a wide range of popular payment methods. This add-on provides a secure and flexible payment experience for your members while enabling you to manage memberships and subscriptions directly through your WordPress website with ease.
Methods Supported with One-Time Payment Plans
- Credit Card (VISA, MasterCard, Maestro and American Express)
- SOFORT banking
- iDEAL
- Bancontact
- Bank transfer
- Belfius Pay Button
- SEPA Direct Debit
- PayPal
- EPS
- Gift cards
- Giropay
- Klarna Pay later
- Klarna Slice it
- Meal and Eco-vouchers (Appetiz, Cadeau Pass, Chèque Déjeuner, Eco Pass, Lunch Pass, Monizze, PassRestaurant, Swile)
- KBC/CBC Payment Button
- paysafecard
- Przelewy24
Methods Supported with Subscription Payment Plans
- Credit Card
- SOFORT banking
- iDEAL
- Bancontact
- Belfius Direct Net
- KBC/CBC Payment Button
Additionally, the following wallets are supported:
- Apple Pay
- Google Pay
All of the payment methods you have enabled are shown to the consumer. You can enable payment methods using the Mollie Dashboard.
Steps For Installation And Activation
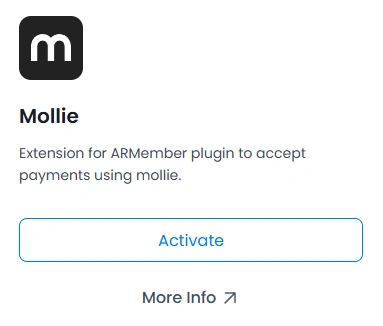
You can install the plugin in the following two ways. Also, the ARMember – Mollie payment gateway plugin requires the ARMember plugin to be installed and active.
New install via FTP
- Download the plugin and extract it. You will find a directory at armembermollie.
- In your WordPress installation directory, upload armembermollie to
wp-content/plugins/ - Activate the
ARMember - Mollie payment gatewayplugin through thePluginsmenu from the WordPress admin panel.
New install via the WordPress Uploader
- Download the plugin.
- Log in to your WordPress admin panel.
- Go to
Plugins⇾Add New⇾Upload - Click on “choose file” and browse the download package. When the plugin uploads successfully, click on it.
You can find this plugin from ARMember ⇾ Add-ons. when this add-on get activated to your site, you will get an additional option in ARMember ⇾ General Settings ⇾ Payment Gateways.
Choose Currency
The very first step is to select your desired currency of choice. To set the currency, navigate to the ARMember ⇾ General Settings page, and here check the option for default currency and select the currency that works for you. ARMember provides a wide range of currencies to choose from; however, if you feel like adding your desired currency, then you can add the custom currency too.
ARMember Mollie Add-on Supported Currencies
- Euro:
EUR - Great British Pound
GBP - Danish krone:
DKK - Norwegian krone:
NOK - Polish złoty:
PLN - Swedish krona:
SEK - Swiss franc:
CHF - United States dollar:
USD
Important Notes to remember before configuring Mollie
- Mollie Payment Gateway doesn’t support a “trial period” for the auto-debit payment method.
- Mollie Payment Gateway doesn’t support a facility to apply a coupon only to the first recurring payment. If purchasing a plan with a coupon code, then the discount will be applied to the recurring payment too, so to apply the coupon, the admin needs to select “For Recurring Plan Apply to Entire Duration” from the Add/Edit Coupon page.
- In case of an automatic subscription, if the payable amount is 0 (zero), then the user needs to pay 0.10 EUR to start the subscription. Because in the Mollie payment gateway, a minimum transaction amount of 0.10 EUR is required to create a subscription for the customer.
- For the subscription/recurring payments, you must have activated the
SEPA Direct Debitorcredit cardPayment Method at your Mollie account. So if you want to use the recurring payments, then kindly activate one of these methods. For more information, click here
Steps to Set Up Mollie For Your Website
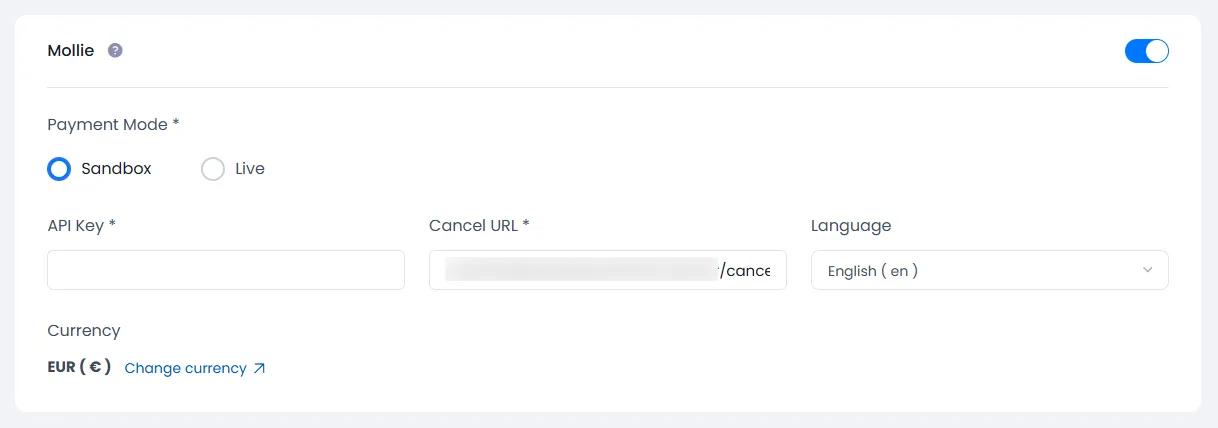
When the add-on is activated, the Mollie section will be displayed in ARMember ⇾ General Settings ⇾ Payment Gateways and here enable the switch for the Mollie payment gateway.
Obtain API Credentials from Mollie
In order to configure the Mollie Payment Gateway, the API key is required to use the Mollie payment method.
- Firstly, if you do not have a Mollie account, then create a Mollie account.
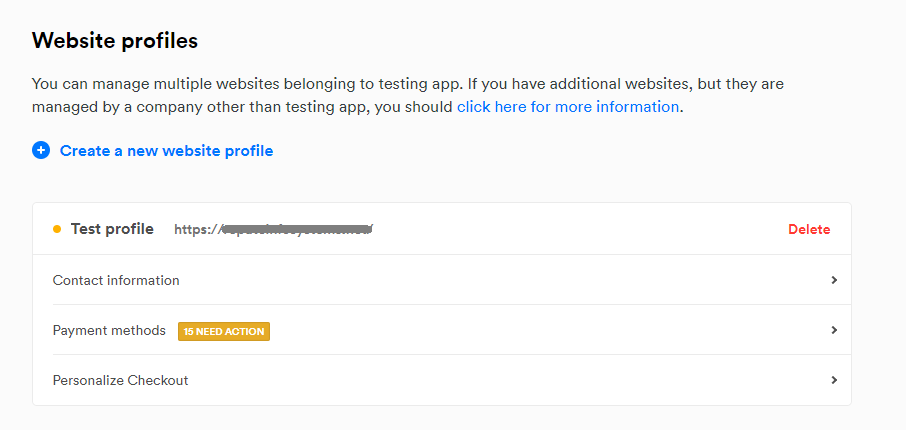
- For API Key Login into your Mollie account and click on the settings page. If you do not have a website profile, then create a new website profile.
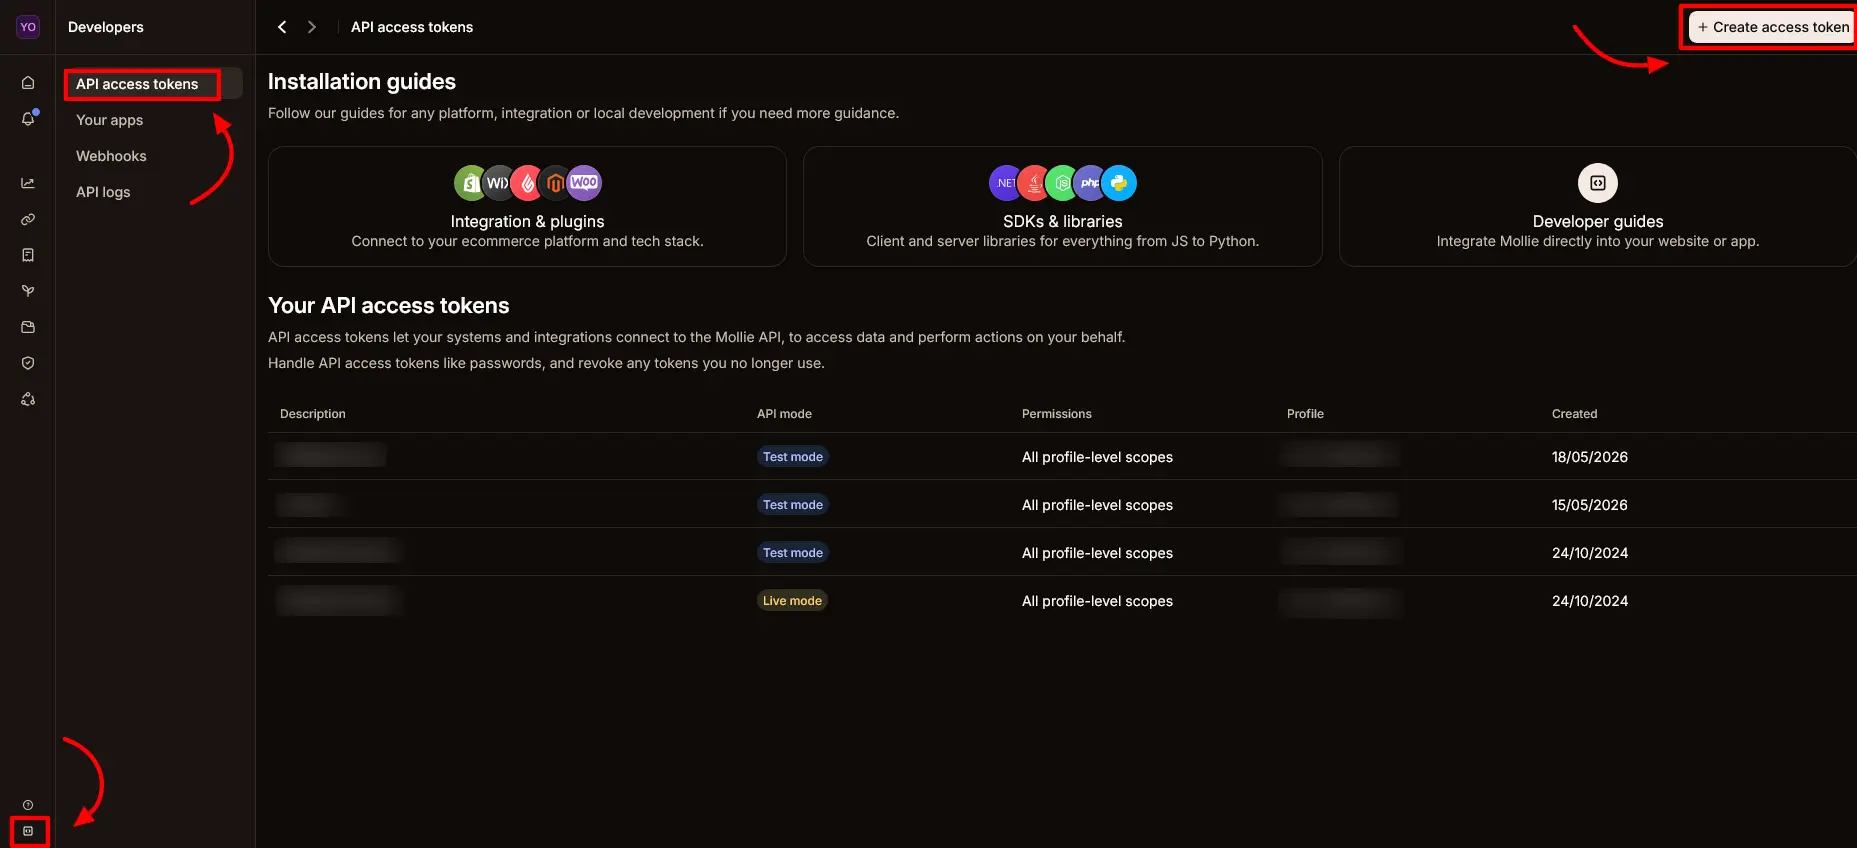
- In the left-hand menu, click on Developers.
- Select API access tokens from the submenu.
- After you open the API access tokens page, click on Create Access Token.
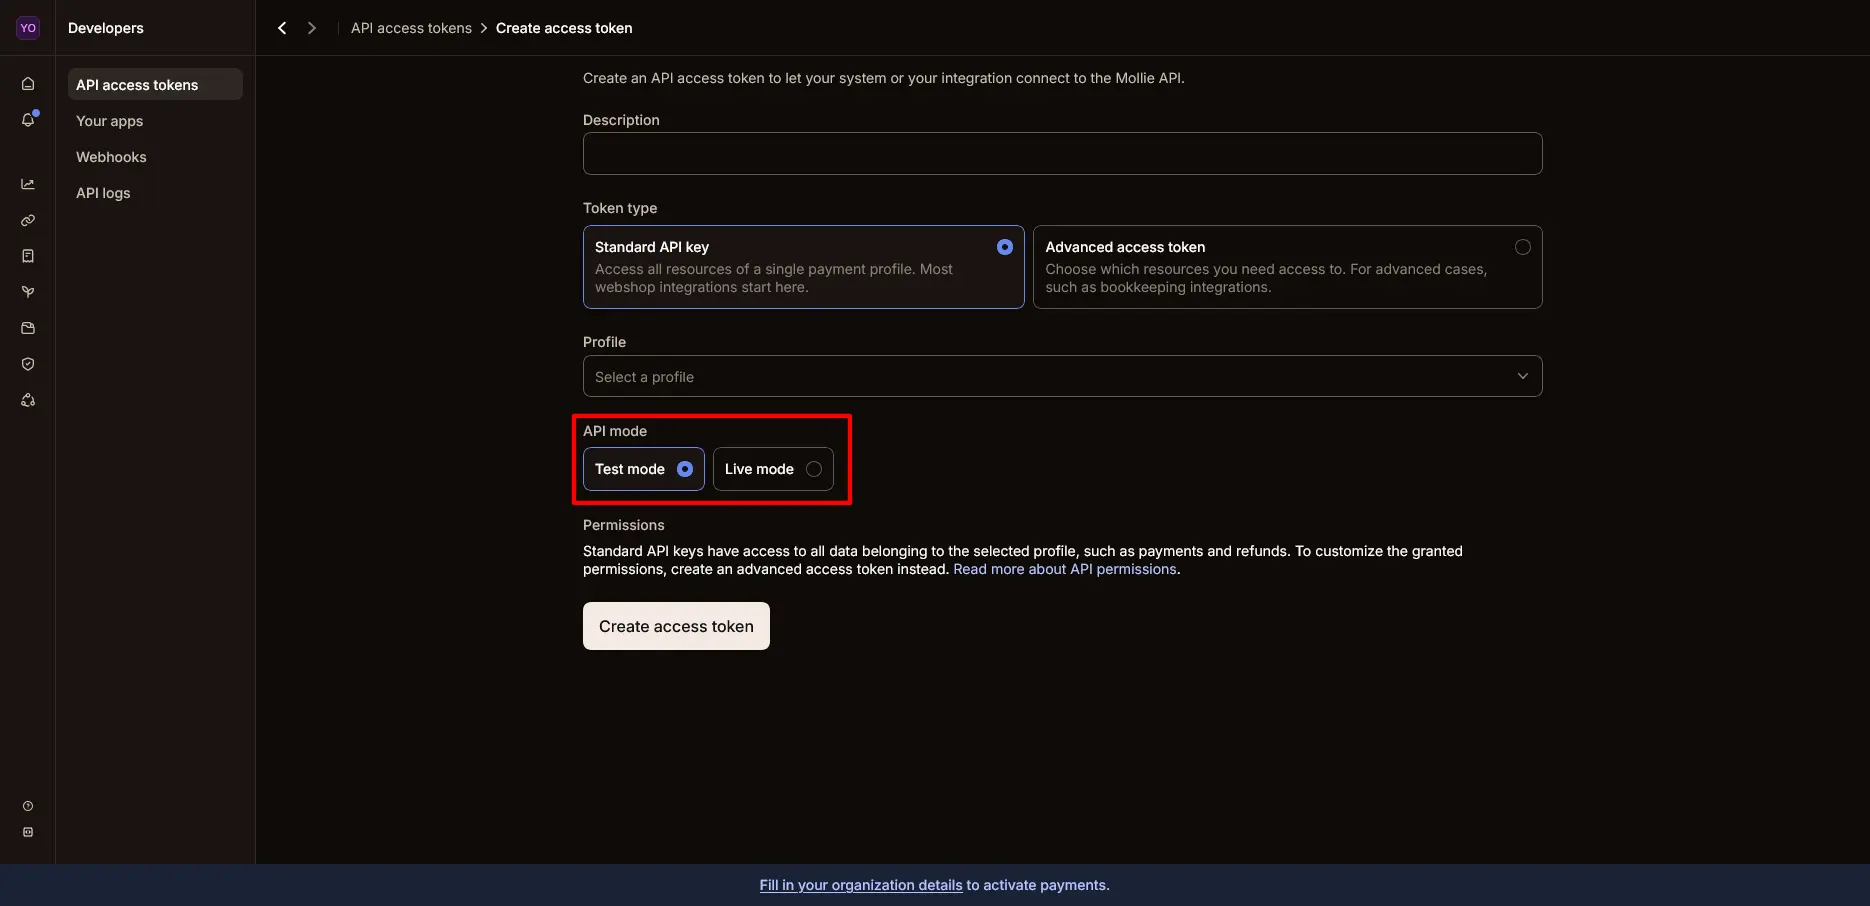
- On the Create Access Token page, select the mode, Test or Live, as per your requirements. Then click on the Create Access Token button.
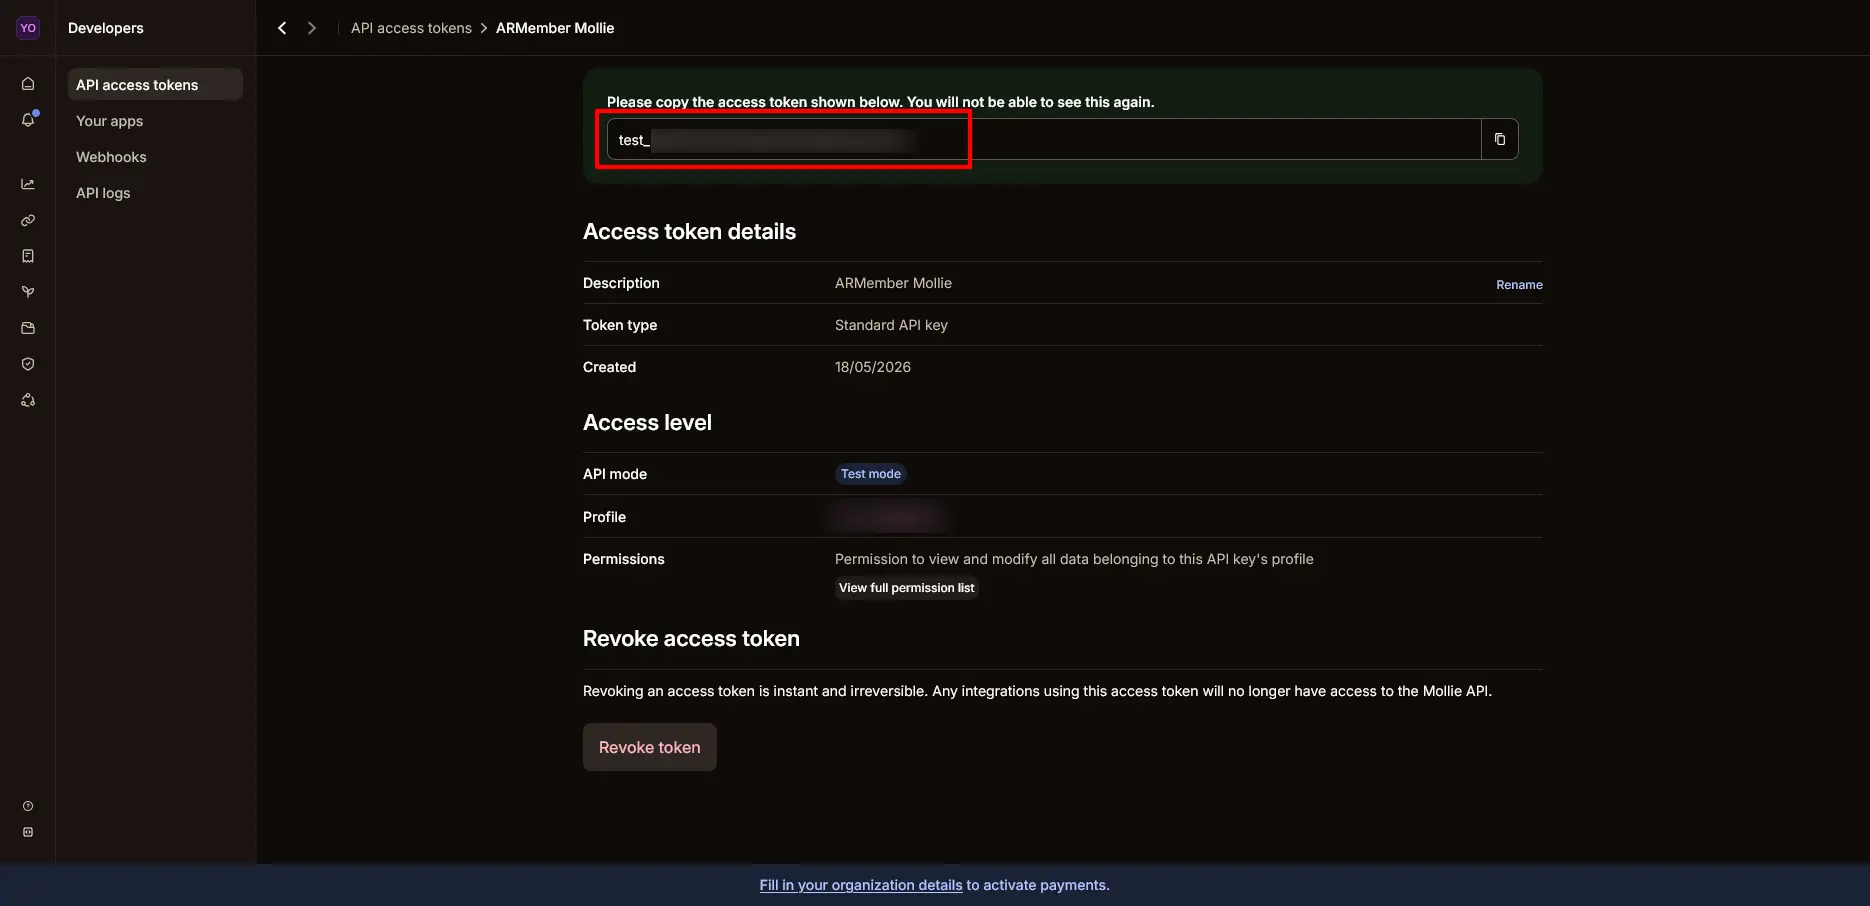
- Now you will get the API key. If you have selected the test mode, then at the ARMember General Settings, add the key to the sandbox; otherwise, if you have selected live mode, then add the API key to the live version at the ARMember General Settings.
Adding Payment Gateway for Front-End View
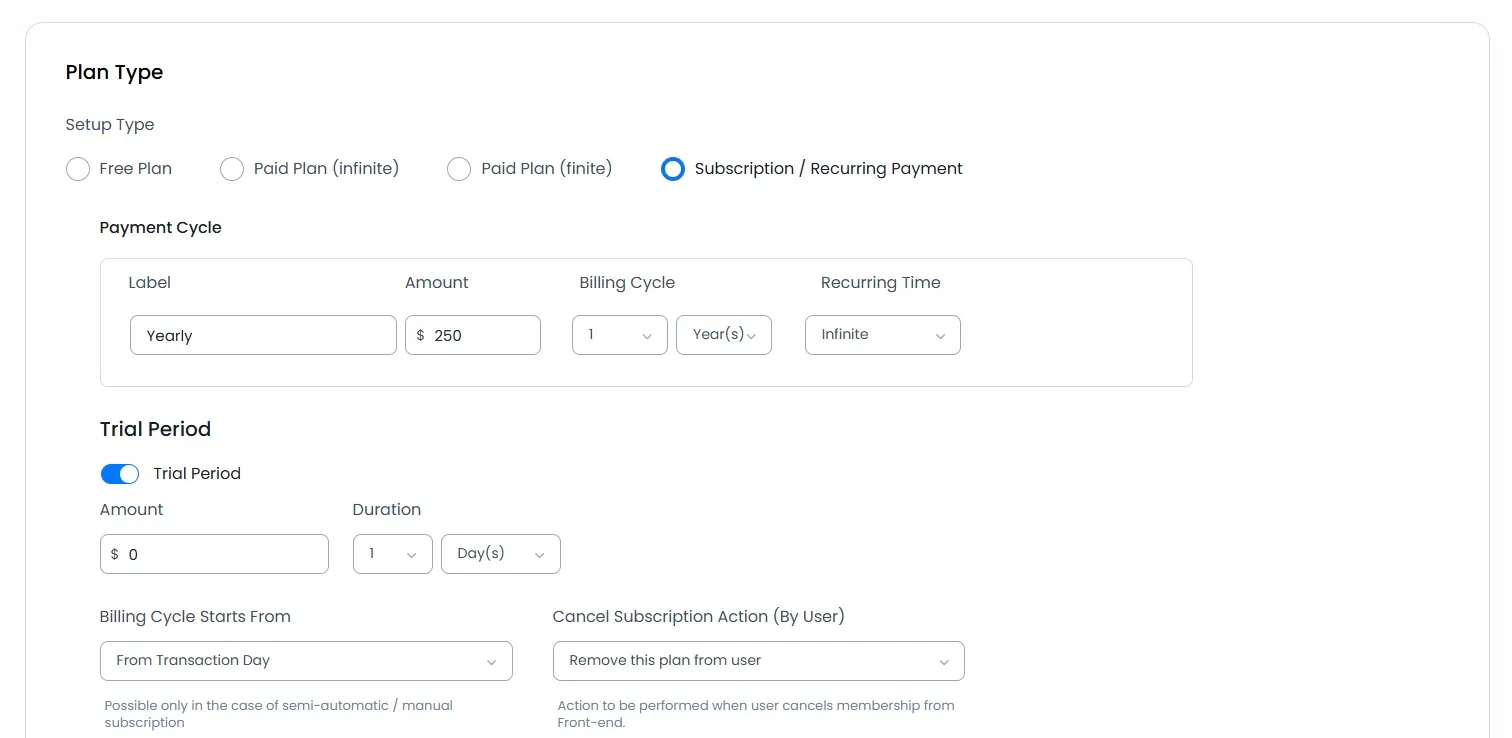
Firstly, navigate to the ARMember ⇾ Manage Plans Page and create a plan accordingly.
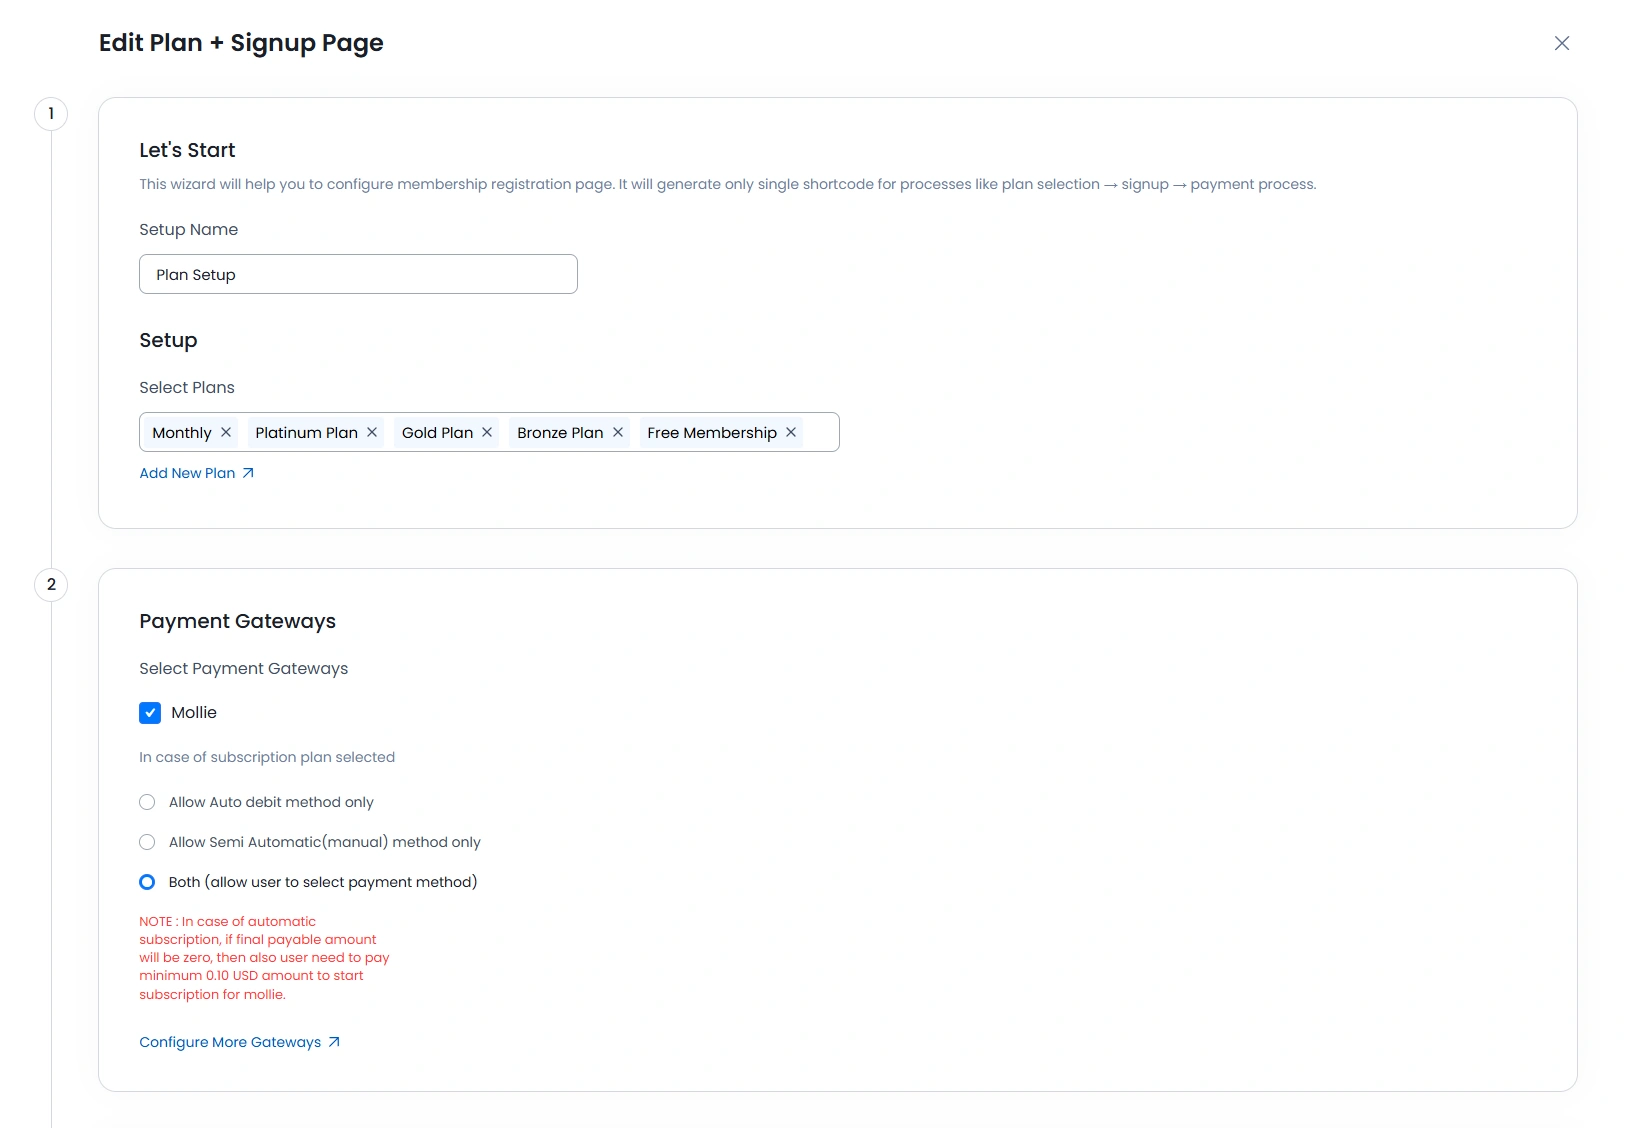
Go to your ARMember Configure Plan + Signup Page – and select the ARMember Mollie Integration Gateway. That’s it.
Debug Log Data
ARMember allows you to check the data that are being received from the payment gateways, whereby you can analyze whether the webhook_data event is reaching your site or not. As such, the ARMember will take any action on the basics of the webhook_data received.
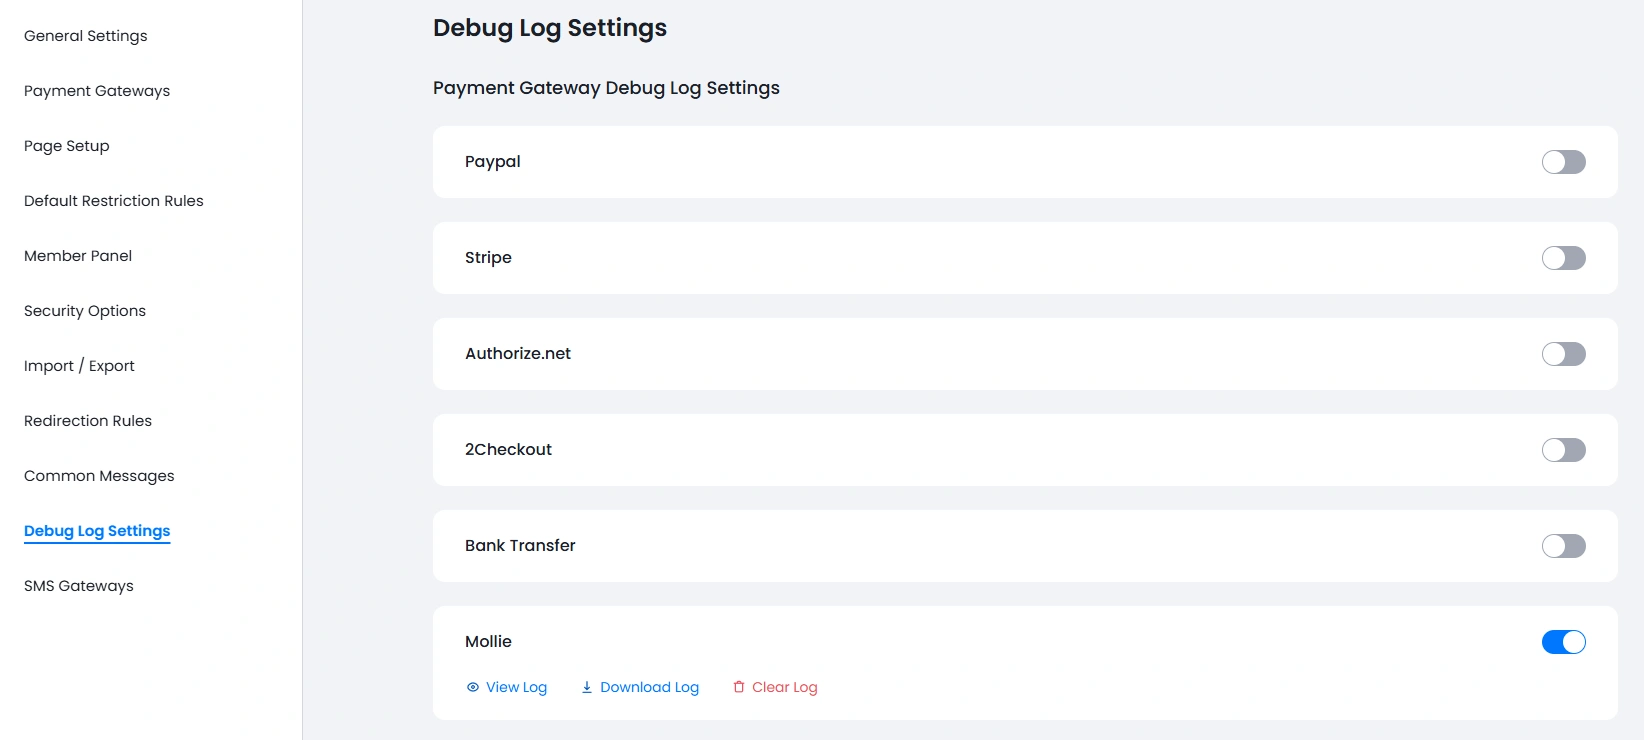
To enable the logs, navigate to the ARMember ⇾ General Settings ⇾ Debug Log Settings page. Here an option is available: Payment Gateway Debug Log Settings, under which you can enable the switch for Mollie and then save the changes. For more information, you can click here.