

Popular Email Marketing Integrations
Email marketing helps companies connect with members quickly and cost-effectively through targeted email campaigns.
With these integrations, your mailing lists stay automatically updated as new members join, making it an efficient way to grow your mailing list.
Add subscribers directly from our registration forms to your Email Marketer account. Configure your preferred tools via the Opt-ins tab in General Settings.
Simply enter your API key and details to verify the tool—our system will then pull in all your lists and campaigns.
Available Email Marketing Tools are:
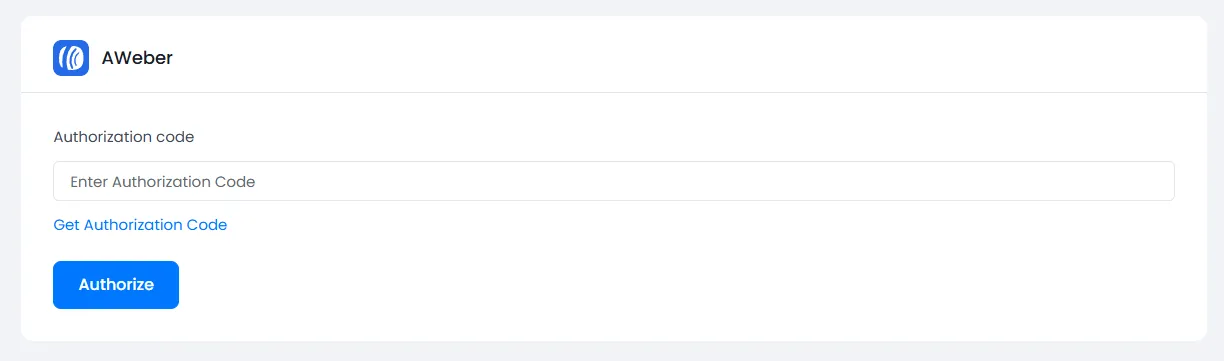
AWeber
Seamlessly connect your ARMember membership site with AWeber’s powerful email marketing platform for automated subscriber management and targeted campaigns. For more information on the integration, you can refer to the aweber integration.
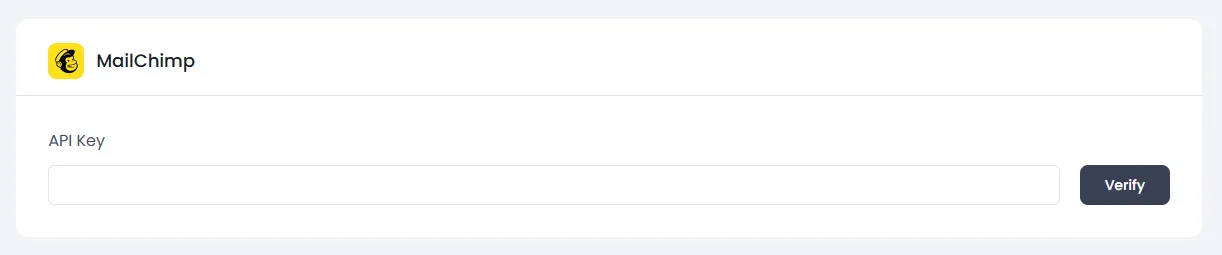
MailChimp
Streamline your membership experience by integrating ARMember with MailChimp, allowing for automatic email delivery, personalized content, and enhanced member engagement.
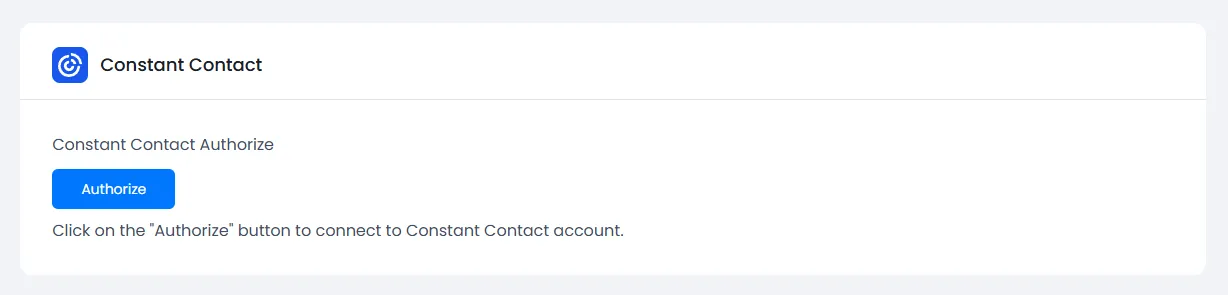
Constant Contact
Automate your membership workflow by syncing member data between ARMember and Constant Contact, ensuring accurate email lists and personalized communications.
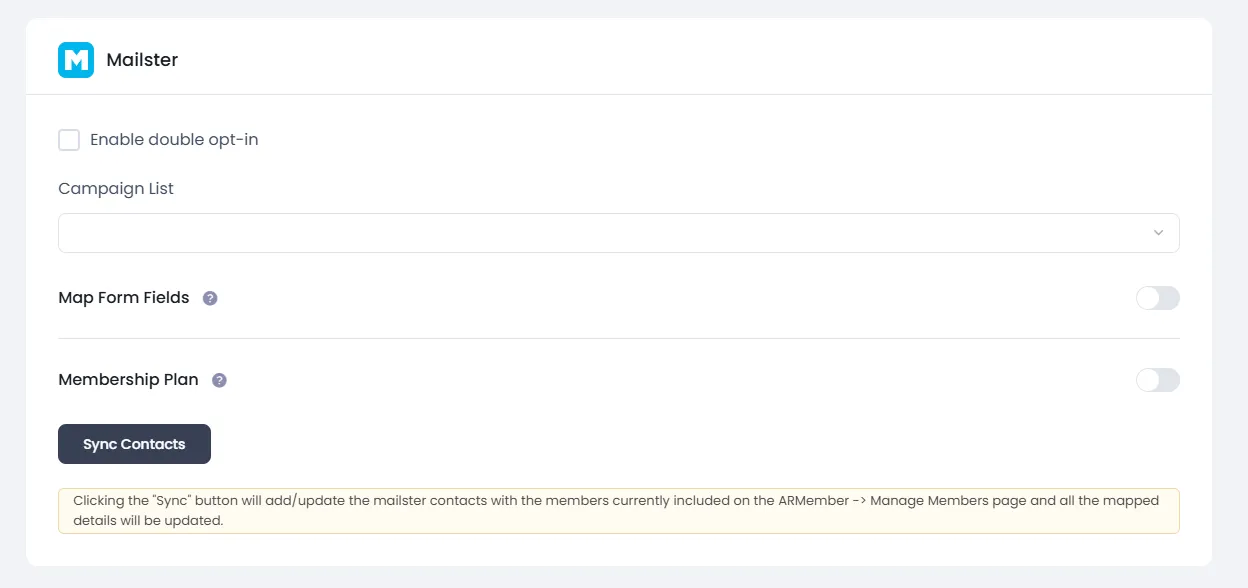
Mailster
Create targeted email campaigns based on member attributes like membership level, subscription status, and purchase history with Mailster for maximum relevance. Check out the detailed steps to configure Mailster with the ARMember.
GetResponse
Enhance member onboarding by sending automated welcome emails and providing essential information upon certain actions with GetResponse.

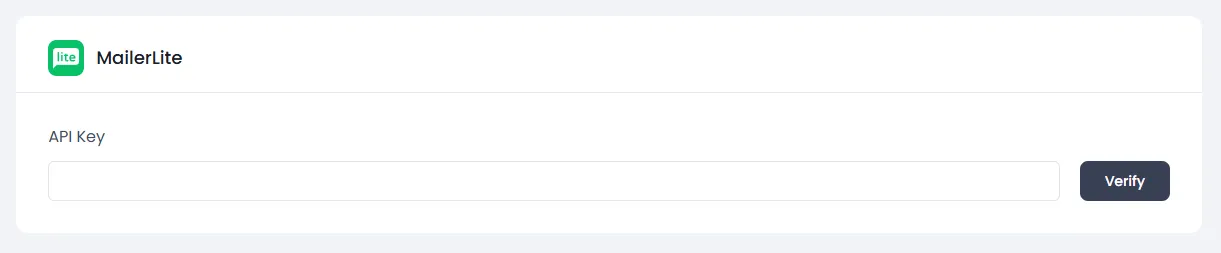
MailerLite
Streamline your membership management process by automating routine tasks, saving time and effort with MailerLite.
Mautic
Automate your membership tasks effortlessly with Mautic integration, boosting efficiency. For more details you can view the setup guide

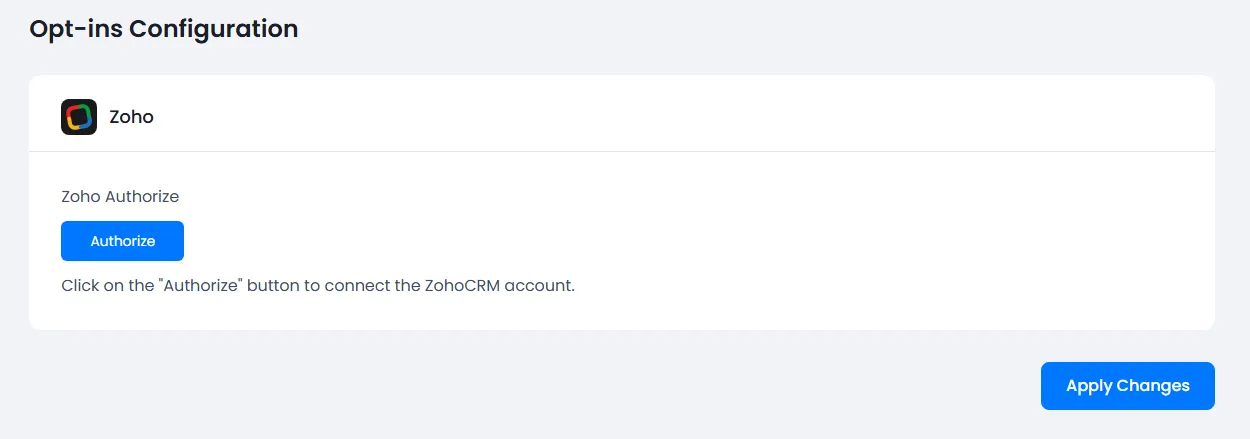
Zoho CRM
Boost efficiency by automating workflows with Zoho for your memberships. View the setup guide.
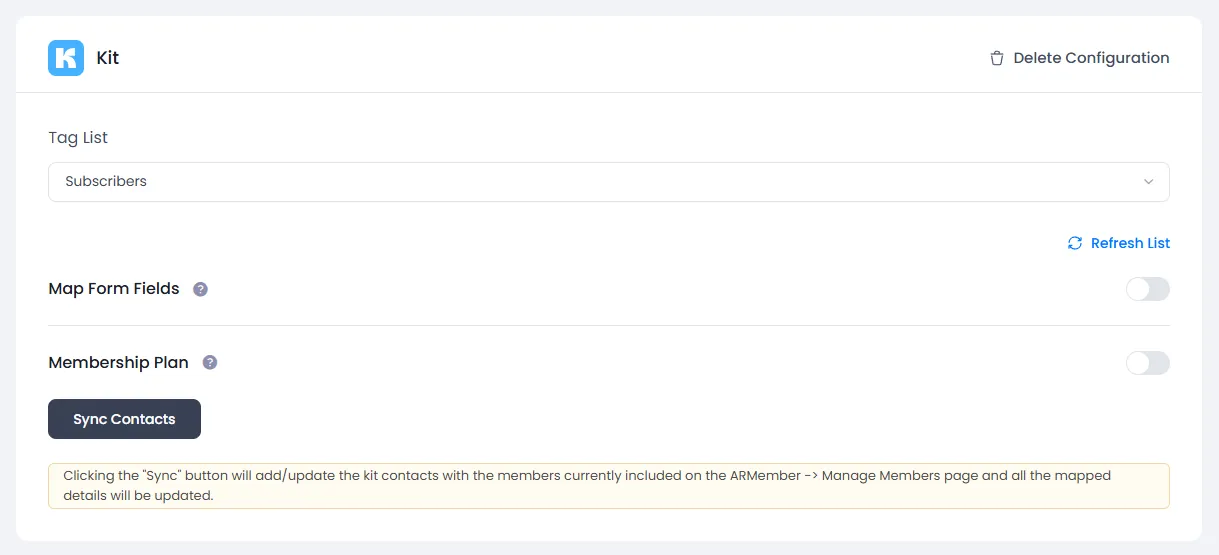
Kit(ConvertKit)
Streamline your membership management by automating email campaigns and workflows with Kit (ConvertKit), saving time on routine tasks. This powerful integration handles subscriptions, broadcasts, and more effortlessly.
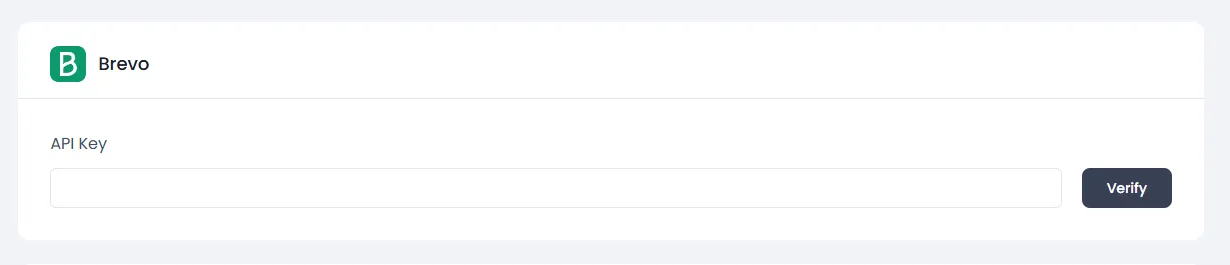
Brevo
Maximize your membership site’s revenue potential by effectively engaging and nurturing your members through targeted email marketing using Brevo with ARMember.
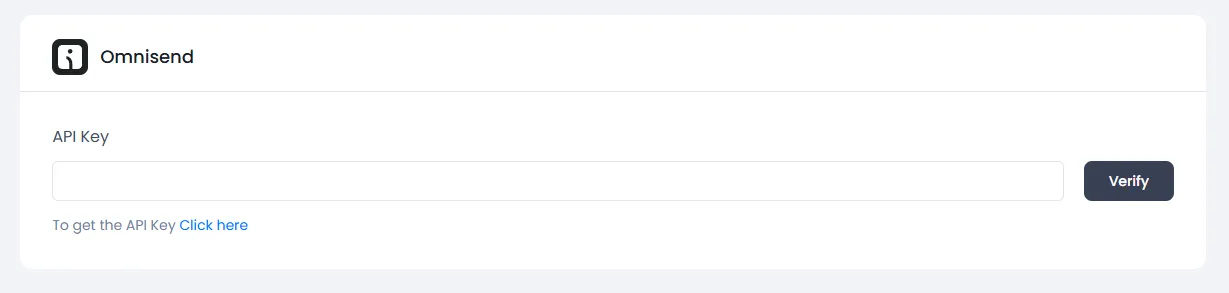
Omnisend
Omnisend is a user-friendly marketing tool for online stores. It helps brands reach customers, increase sales, and enhance their marketing strategies.
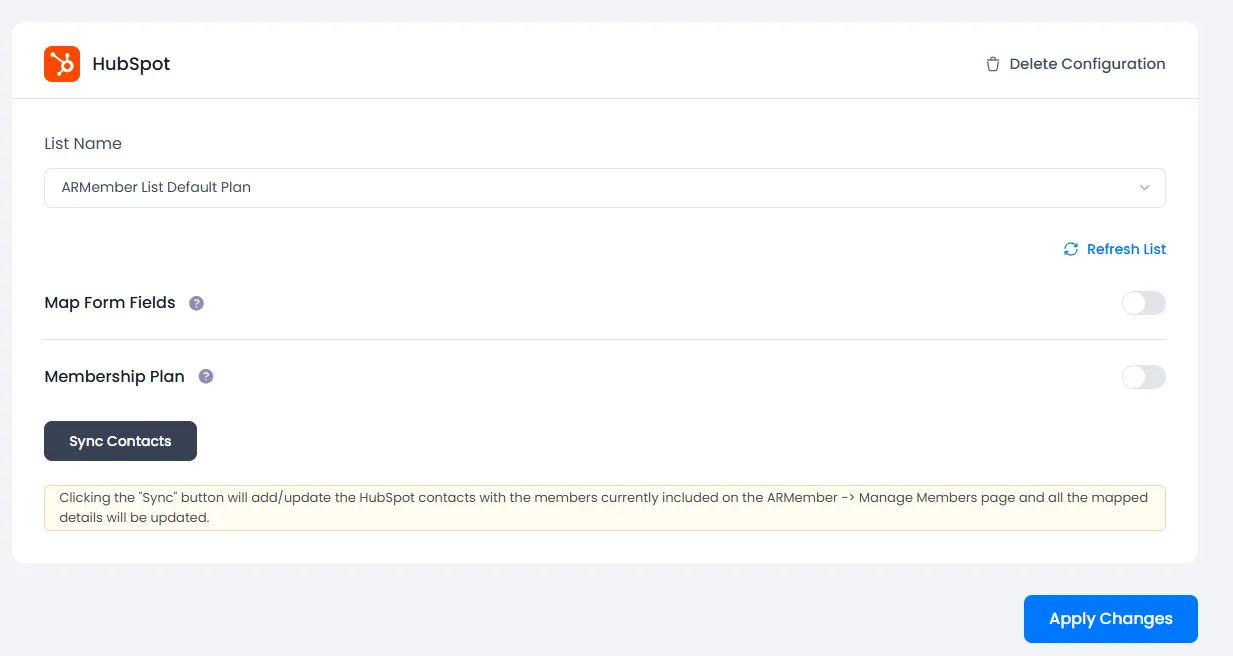
Hubspot
Automate membership workflows with HubSpot’s powerful CRM tools for lists, deals, and automation. Save effort and scale smarter.
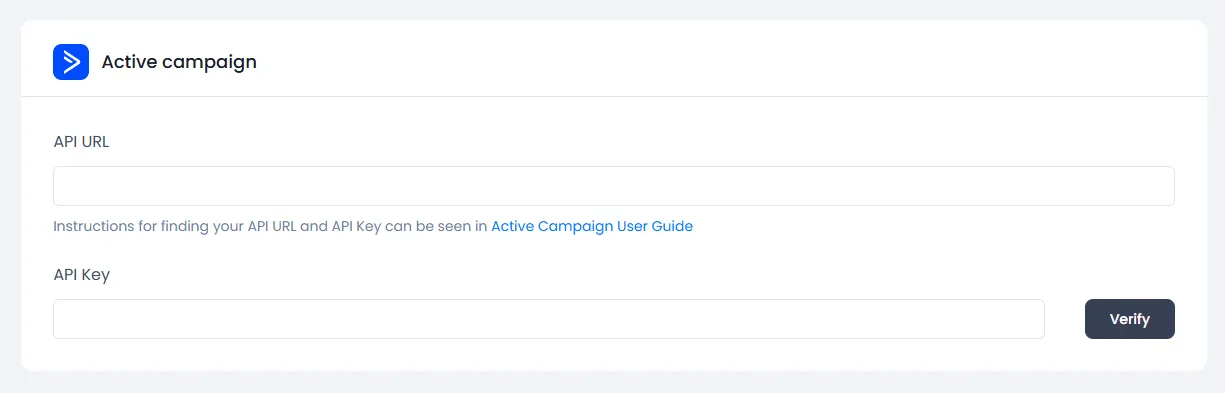
Active Campaign
Active Campaign Addon does not just add users to Active Campaign Contacts but also facilitates to add users in specific Active Campaign List. Also, you will be allowed to add users, who will register from different Sign Up Forms used for different purposes, into in different Active Campaign Lists.
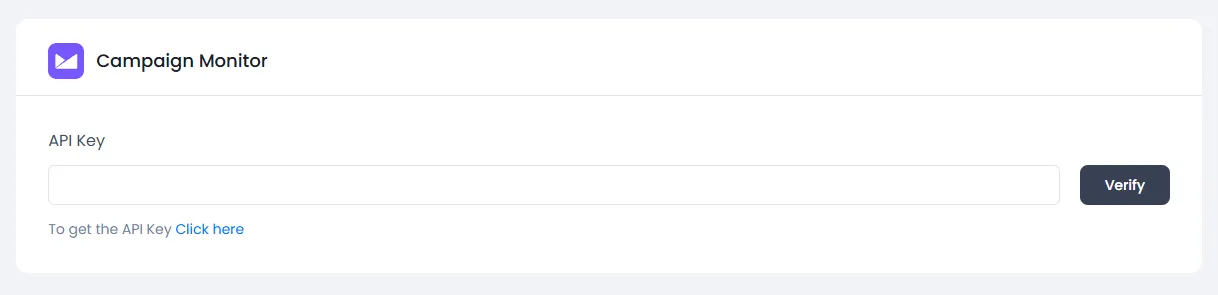
Campaign Monitor
Introducing Campaign Monitor: Your ultimate email marketing solution tailored for growth. Elevate your campaigns with powerful automation, stunning templates, and insightful analytics—all at your fingertips.
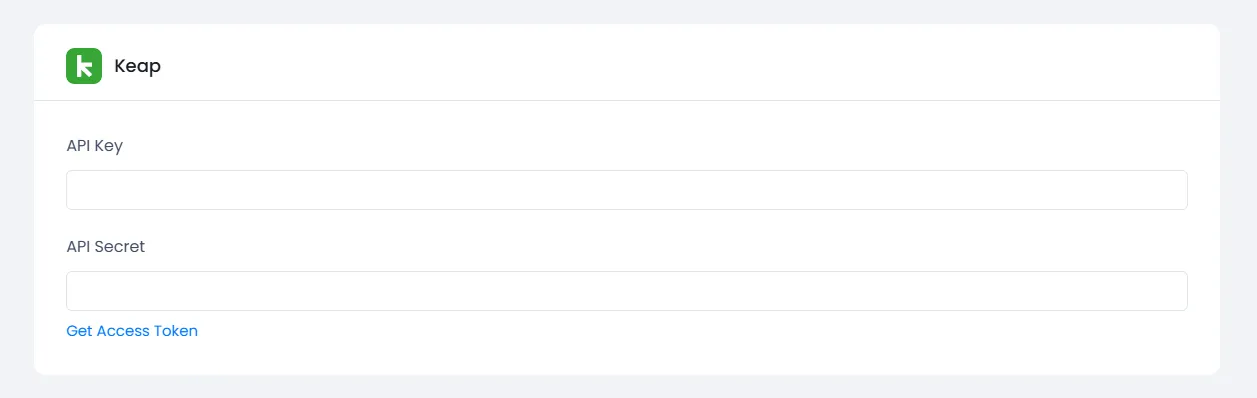
Keap (Infusionsoft)
Keap, formerly known as Infusionsoft, is an all-in-one CRM and marketing automation platform designed to help small businesses streamline their sales processes and nurture customer relationships. With powerful tools for email marketing, lead management, and e-commerce, Keap empowers entrepreneurs to grow their businesses efficiently and effectively. .
MailPoet
Streamline your membership management by automating newsletters and subscriber lists with MailPoet, saving time on email tasks. Keep lists updated automatically as members join via registration forms. You can seamlessly connect ARMember with MailPoet.

Conditional Subscription for Tools
Now you may want to add users conditionally, for that ARMember provides Conditional Subscription switch at Opt-ins options in form editor. When you enable this option you will get conditional area visible at there where you can set condition. Now your subscription will be subscribed only if your condition become true at front.
You can set the following possible conditions.
- Any field’s value is equals(=) to condition’s value.
- Any field’s value is not equals(!=) to condition’s value.
- Any field’s value is greater than(>) the condition’s value.
- Any field’s value is less than(<) the condition’s value.