

How to Integrate Zapier Trigger Method Using ARMember Zapier Addon
Important Note: This plugin will only work if ARMember plugin version is 1.8 or higher.
This Addon will allow you to synchronize your website data with other apps using zapier.
ARMember – Zapier Key Features:
- Easy Installation.
- Easy integration with other apps using Zapier.
- Zapier is service which connects over 700 different apps – to allow for useful integrations between them.
-
The ARMember – Zapier supports the following triggers to automate synchronize your website data with other apps.
- On User Registration
- On User Update Profile
- On Membership Plan Renewed
- On Membership Plan Changed
- On Membership Plan Cancel
- On User Deleted
- The ARMember – Zapier supports to trigger Zapier Actions.
Steps For Installation And Activation
You can install plugin in following two ways. ARMember – Zapier Addon requires ARMember Plugin installed and active.
New install via FTP
- Download Addon and extract it. You will find a directory armemberzapier.
- In your WordPress installation directory, upload armemberzapier to
wp-content/plugins/ - Activate the
ARMember - Zapier Addonthrough thePluginsmenu from WordPress admin panel.
New install via the WordPress Uploader
- Download Addon.
- Log in to your WordPress admin panel
- Go to
Plugins⇾Add New⇾Upload - Click on “choose file” and browse the download package. When the Addon uploads successfully, click on
Activate Plugin.
Steps to Setup Zapier For Your Website
Let’s setup ARMember – Zapier for your website :
-
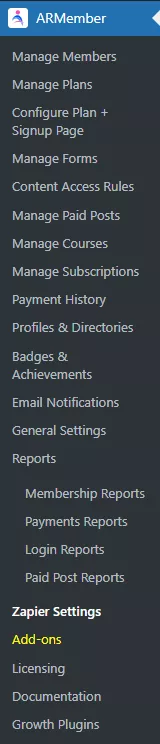
When plugin activated then Zapier page will be displayed in
ARMember.Please see below screenshot.

-
Click on Zapier Settings page then you can see triggers and actions.
Please see below screenshots.

-
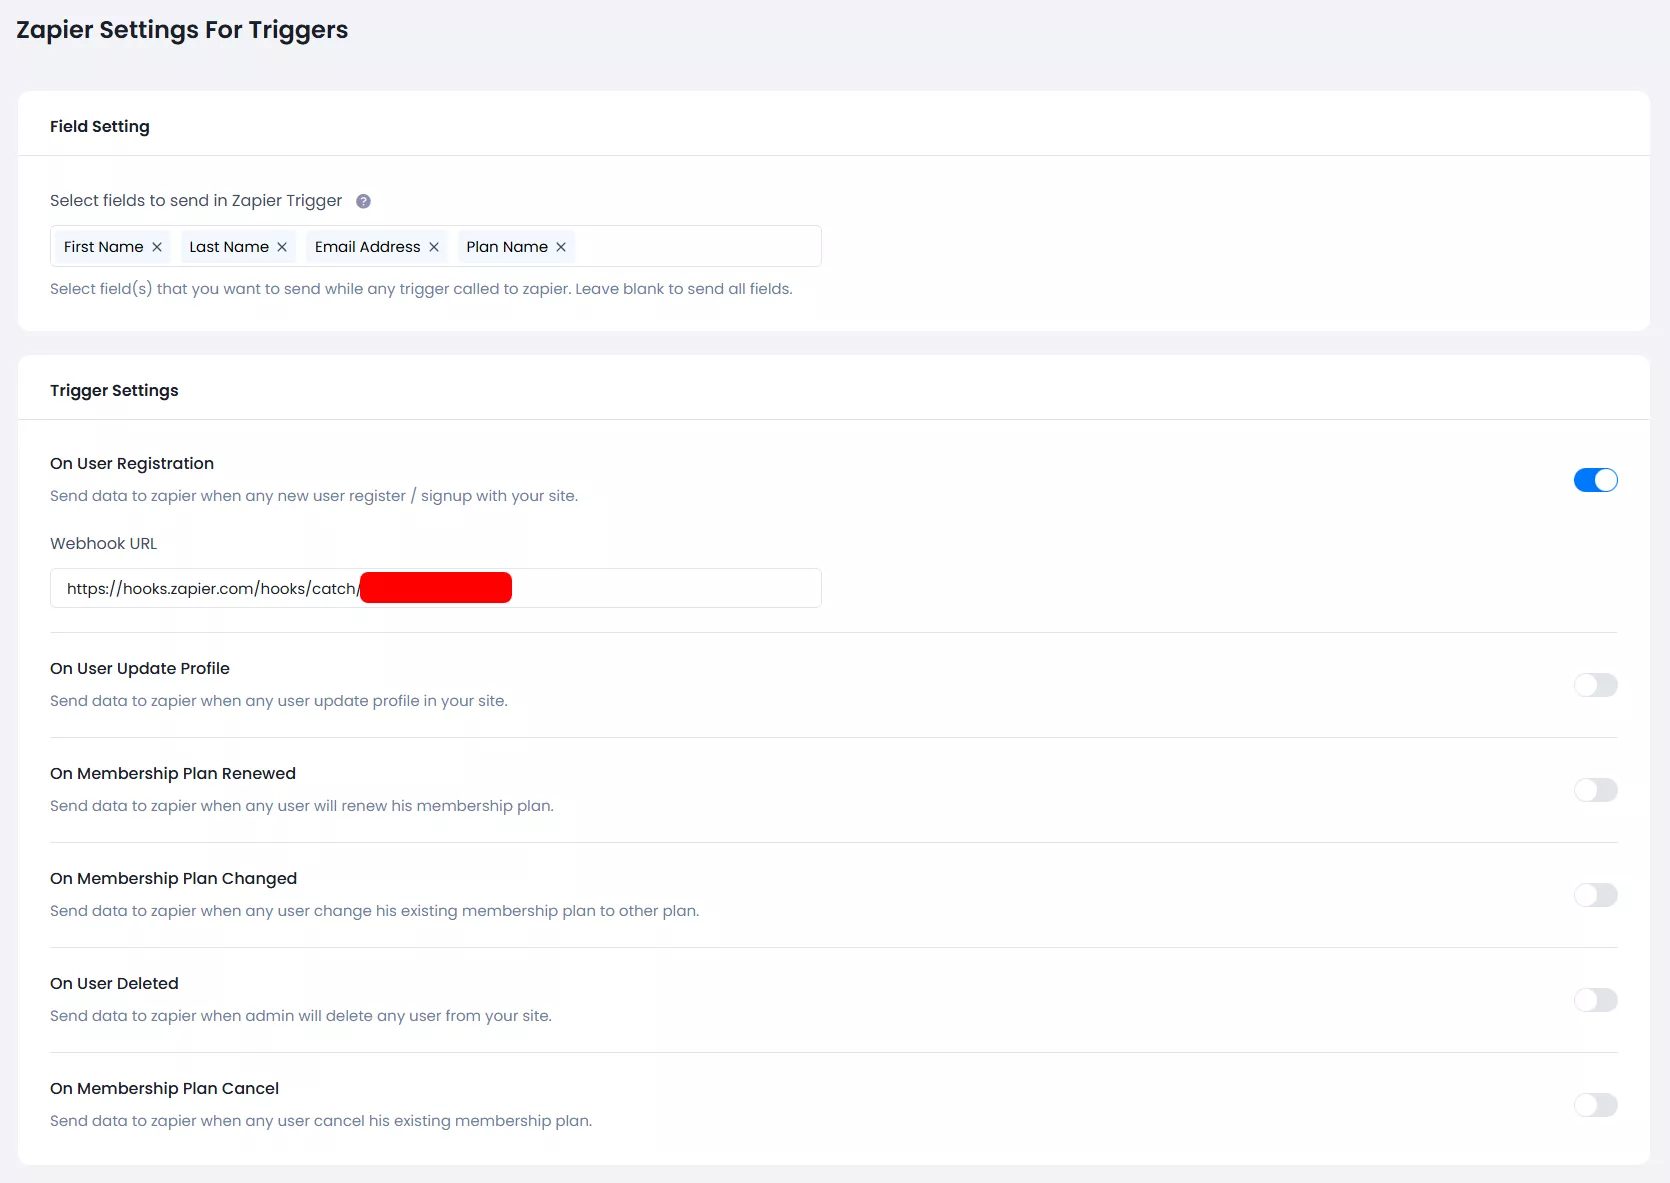
You will have to select the fields that you want to send the data into zapier, if you want to send all of the data then, just leave it blank.
-
You can set below triggers in your zapier account.
- User Register
- User Update Profile
- User Renew Plan
- User Change Plan
- On Cancel/Expire Plan
- User Delete
You will be able to Enable and Disable all triggers.
-
You can set field for action from
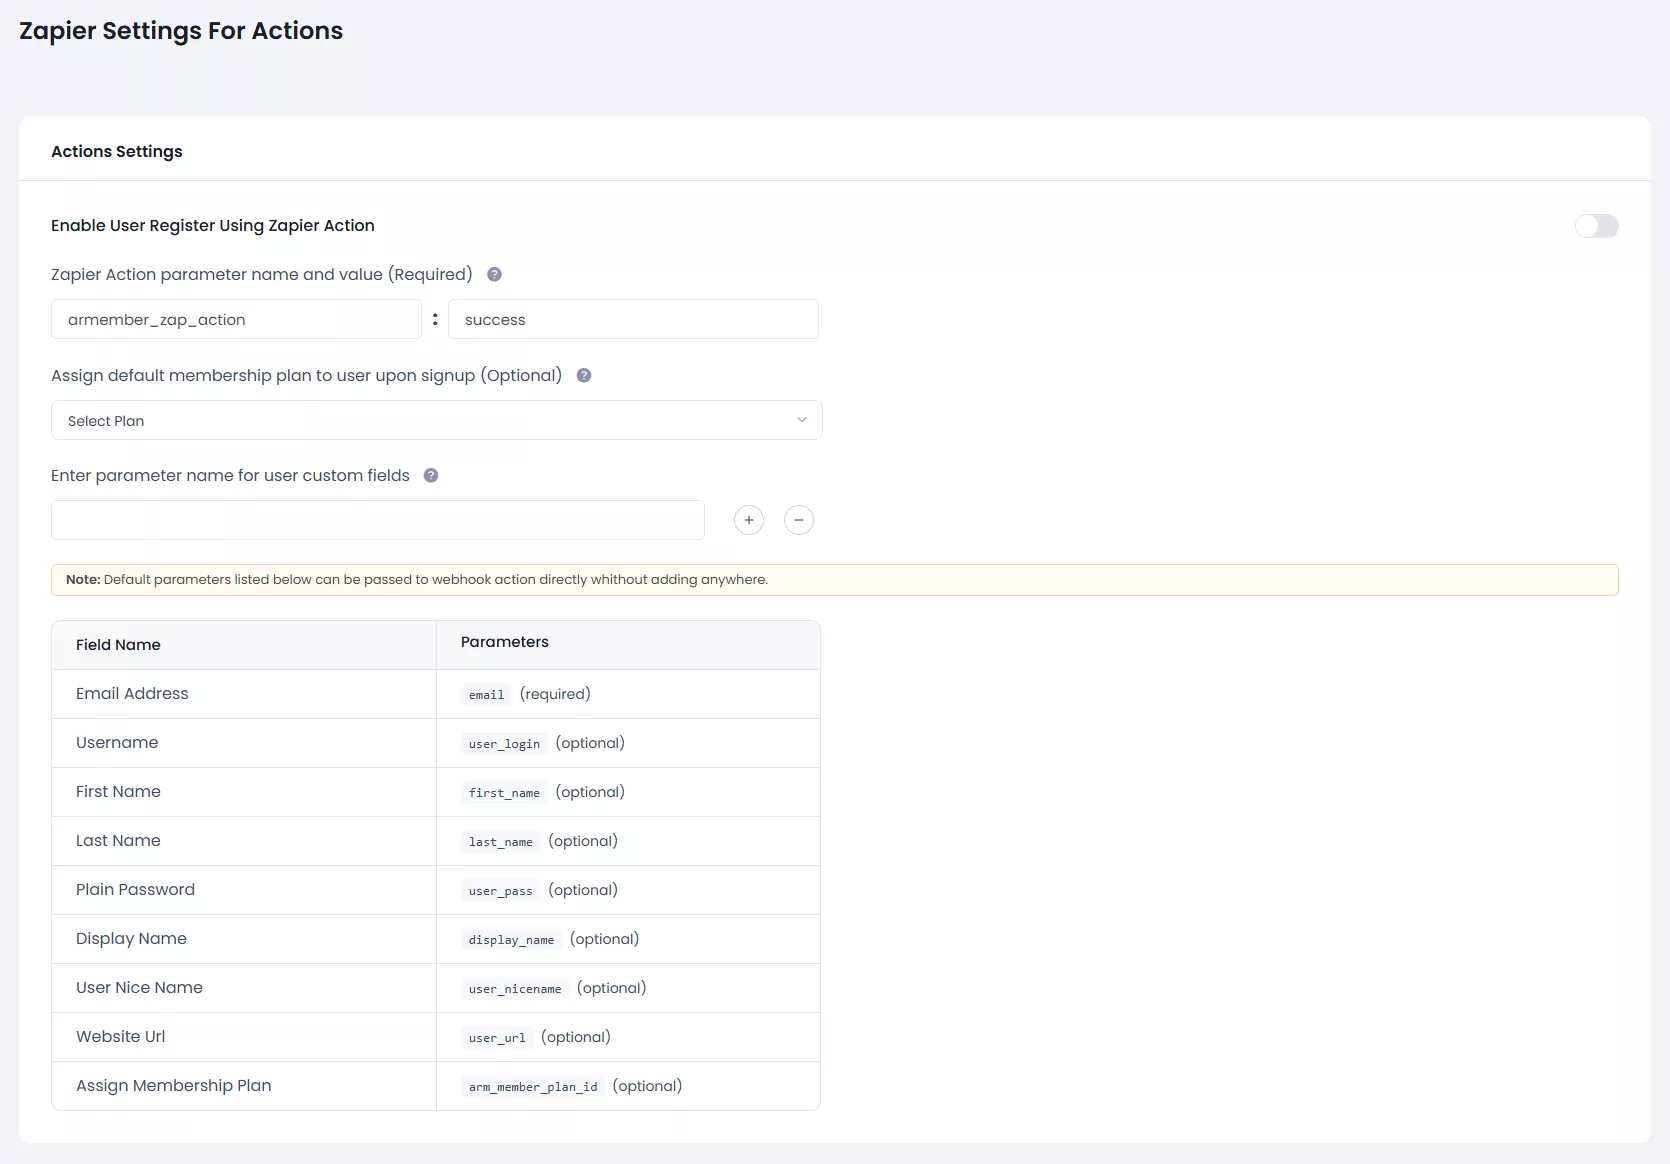
Enable User Register Using Zapier ActionClick Enable for your zapier account.-
Enter
armember_zap_action⇾successassign default membership plan and custom field add and Save.For security purpose, user will be created only if above parameter and entered value will be matched with webhook URL.
Please use exact (case sensitive) parameter name and value in your Zapier webhook action. -
You can set the field for assigning the membership plan from
Assign default membership plan to user upon signupSelected plan from this dropdown will be assigned to member only if ‘arm_membership_plan’ parameter (see all possible parameters below) is not passed in your webhook action.
-
You can add custom fields using zapier actions from
Enter parameter name for user custom fieldsYou can add all custom meta keys here for user registration. Please add only those parameters which are not listed below.
-
Field Name
ParametersEmail Address
email
(required)Username
user_login
(optional)First Name
first_name
(optional)Last Name
last_name
(optional)Plain Password
user_pass
(optional)Display Name
display_name
(optional)User Nice Name
user_nicename
(optional)Website URL
user_url
(optional)Assign Membership Plan
arm_member_plan_id
(optional)
Note: Default parameters listed below can be passed to webhook action directly without adding anywhere.
-
Steps to Setup Zapier Trigger For Your Website
-
First of all login to your zapier account. For login to zapier account Click here.
-
If you do not have zapier account then Create zapier account.
-
After login to your zapier account. Please follow the below steps for Create a zap or How to setup trigger in zapier.
-
Click on
MAKE A ZAPbutton from your Dashboard page. -
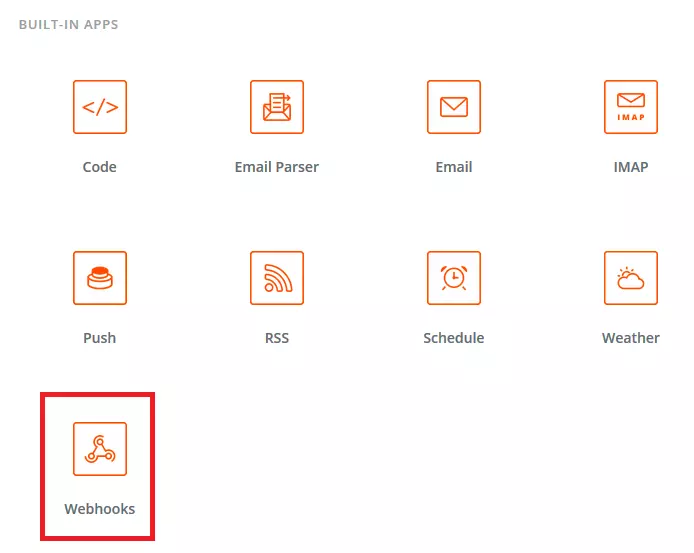
For set Trigger you need to select
Webhooksapp fromBuilt-Inapps list.Please see below screenshot.
-
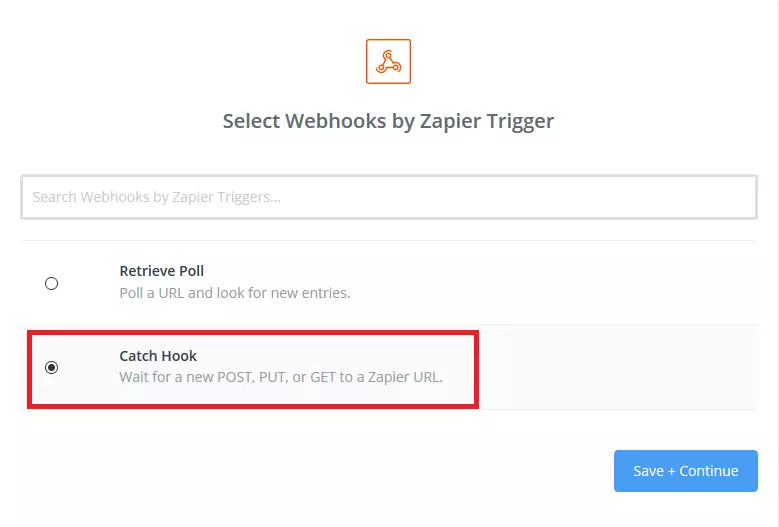
Then after need to select app trigger. There is must need to select
Catch Hook. It’s important that you select this trigger otherwise the integration will not work.Please see below screenshot.
After select the trigger click on
Save + Continuebutton. -
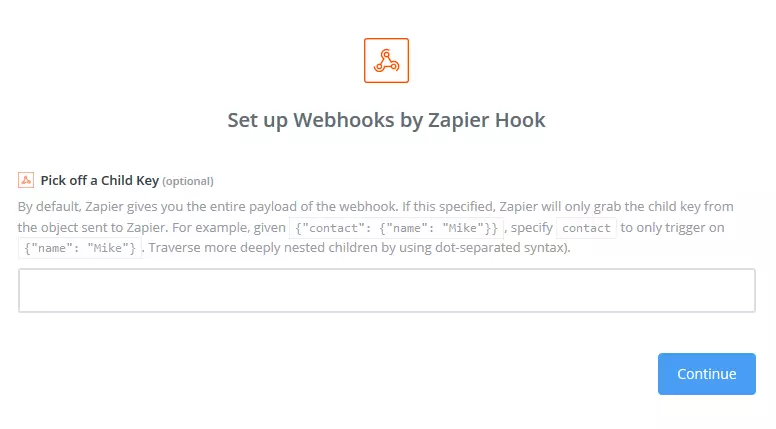
Then the below screen will be displayed.
There is no need to enter any of the text in the text box. Because you will be able to get all the field lists that you have selected on the Zapier settings page in the Zapier action
If you specify the child key from the object then you will only access the child key in action.
-
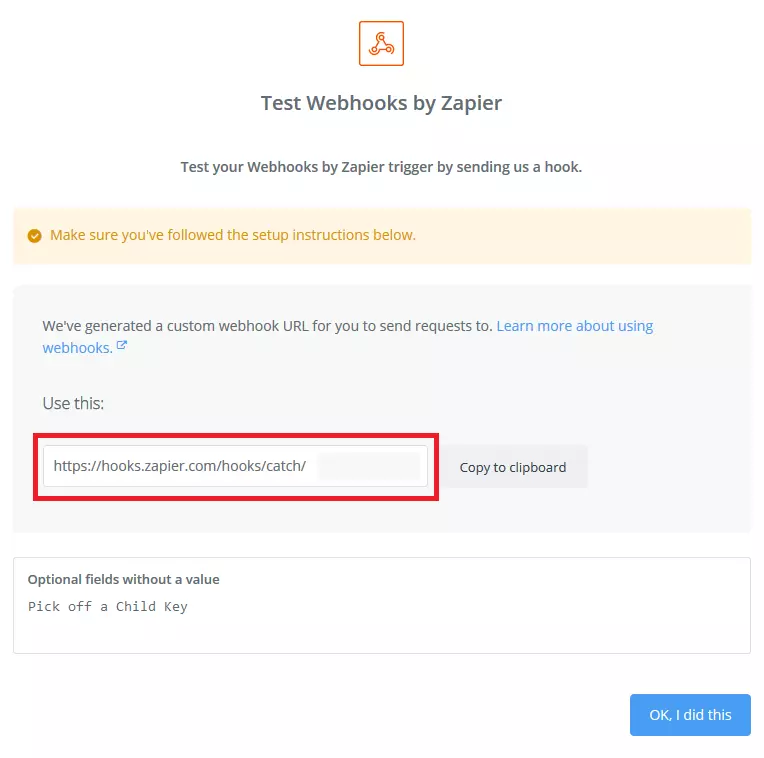
Click on
Continuebutton so you will see the below screen.Copy the Webhook URL and set into
Webhook URLin ARMember Zapier setting page.-
If you want to send data to app when user register on your site then enable
User Registerand set the webhook URL inUser Register Webhook URLtext box. -
If you want to send data to app when user renew plan on your site then enable
User Renew Planand set the webhook URL inUser Renew Plan Webhook URLtext box. -
If you want to send data to app when user change plan on your site then enable
User Change Planand set the webhook URL inUser Change Plan Webhook URLtext box. -
If you want to send data to app when Membership plan cancel or expire then enable
On Membership Plan Canceland set the webhook URL inOn Membership Plan Cancel Webhook URLtext box. -
If you want to send data to app when user delete on your site then enable
User Deleteand set the webhook URL inUser Delete Webhook URLtext box. -
After setting the webhook URL. Click on the save button and save the settings.
After save the ARMember Zapier settings, Click on
OK, I did thisbutton on your zapier account. -
-
Then perform the action in a website that you have set webhook URL.
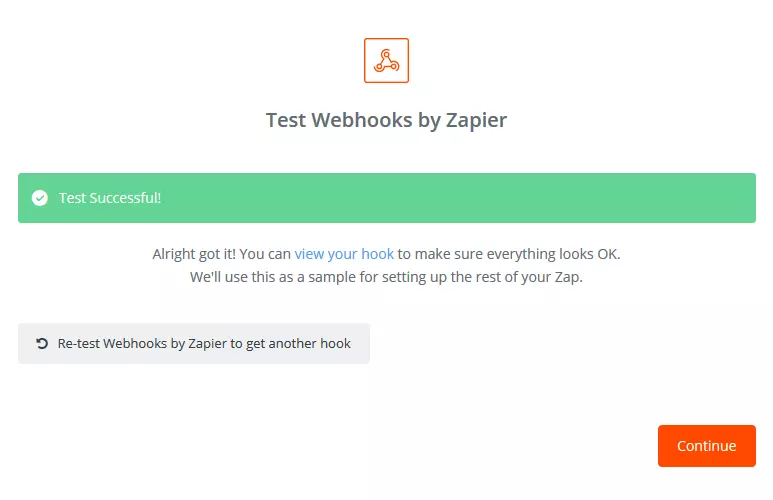
So Zapier webhook is tested and the field list will be displayed in Action. It’s important that you test the trigger otherwise the field list will not appear in action app.
When you done the action in website than you can see the below screen in your zapier account.
-
Click on
Continuebutton. You have successfully set the trigger in your zapier account. -
Now you can set action in your zapier account.
Select app that you want to set action and select action for the selected app.
You can connect a new account or If you have already connected an account, Than you will select an specific account.
After connect the app need to set required field and test the connected app.
When you successfully test the connected app then after click on
finishbutton and insert ZAP name.If created ZAP is on in your zapier account then the data will be synchronize.
- For more information about how to create zap Click here.
-
Steps to Setup Zapier Action For Your Website

How to Integrate Zapier Action Method Using ARMember Zapier Addon
-
First of all login to your zapier account. For login to zapier account Click here.
-
If you do not have zapier account then Create zapier account.
-
After login to your zapier account. Please follow the below steps for Create a zap or How to setup action in zapier.
-
Click on
MAKE A ZAPbutton from your Dashboard page.Note:Below Given Example with connect zap action with MailChimp
-
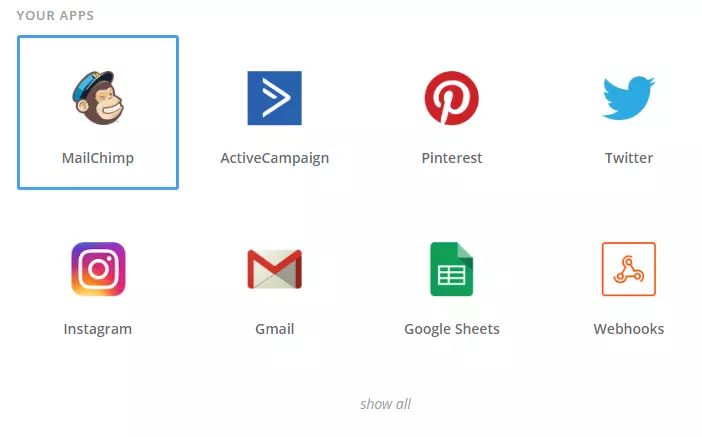
For set Trigger you need to select
Webhooksapp fromYour Appsapps list.Please see below screenshot.

-
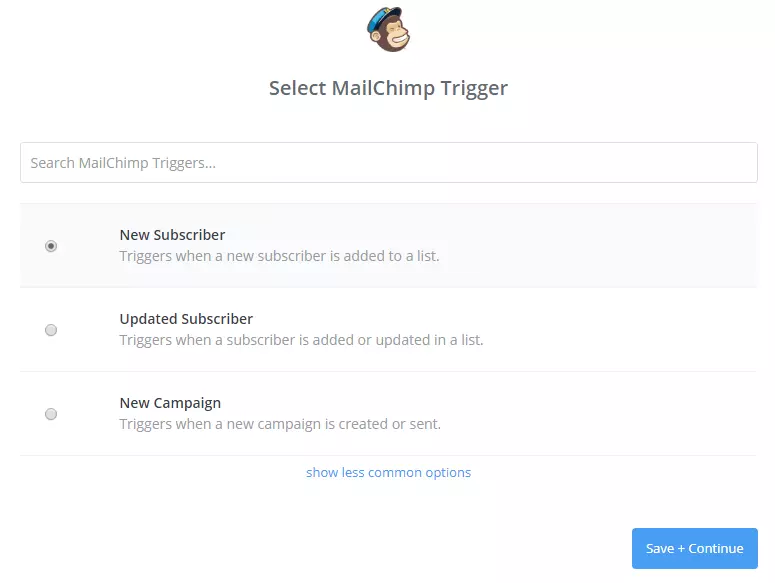
Then after need to select app trigger. There is must need to select mailchimp trigger
New Subscriber. It’s important that you select this trigger otherwise the integration will not work.Please see below screenshot.

After select the trigger click on
Save + Continuebutton. -
Then the below screen will be display.

-
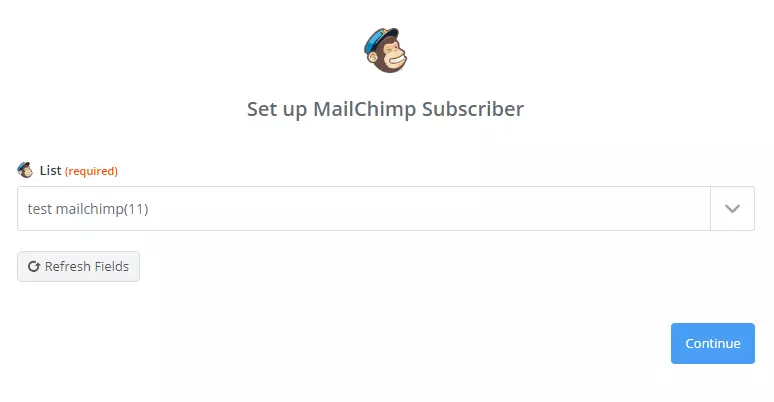
Select list of group MailChimp account click on
Continuebutton so you will see the below screen.
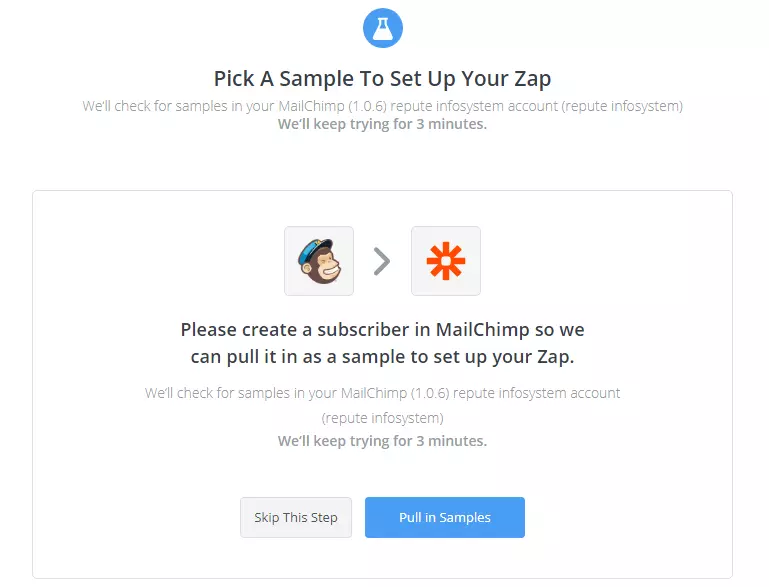
Setup your zap click on
Pull in Samplesbutton. -
Then the below screen will be display.

After all trigger setup click on
"Your Zap currently lacks an Action step. Add one now!" -
Action Step
-
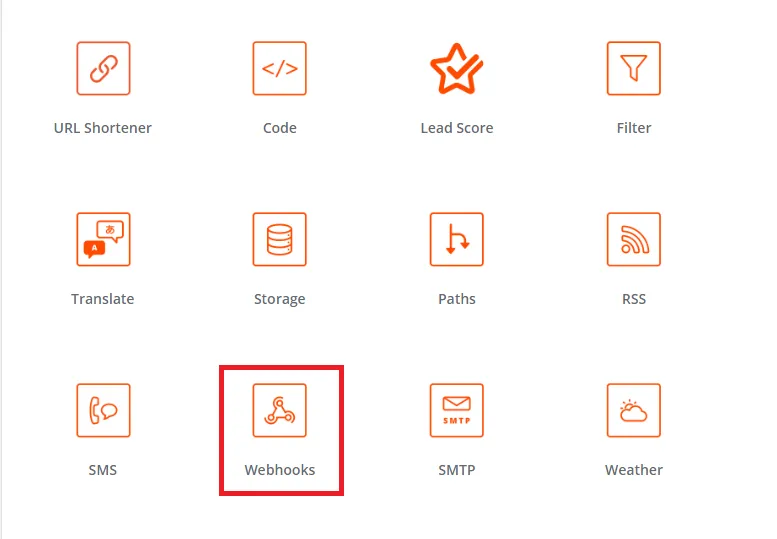
Then after select webhooks by zapier action
Please see below screenshot.

-
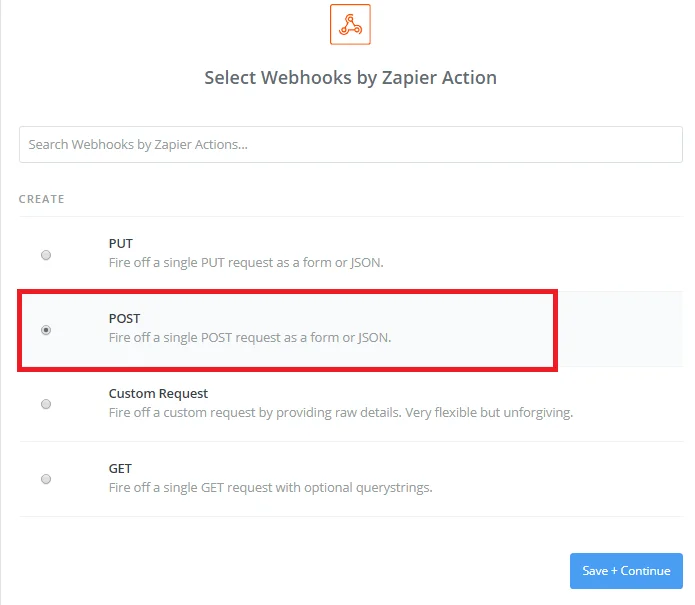
For set action you need to select
Webhooksapp fromBuilt-Inapps list.Please see below screenshot.

After select the trigger click on
Save + Continuebutton. -
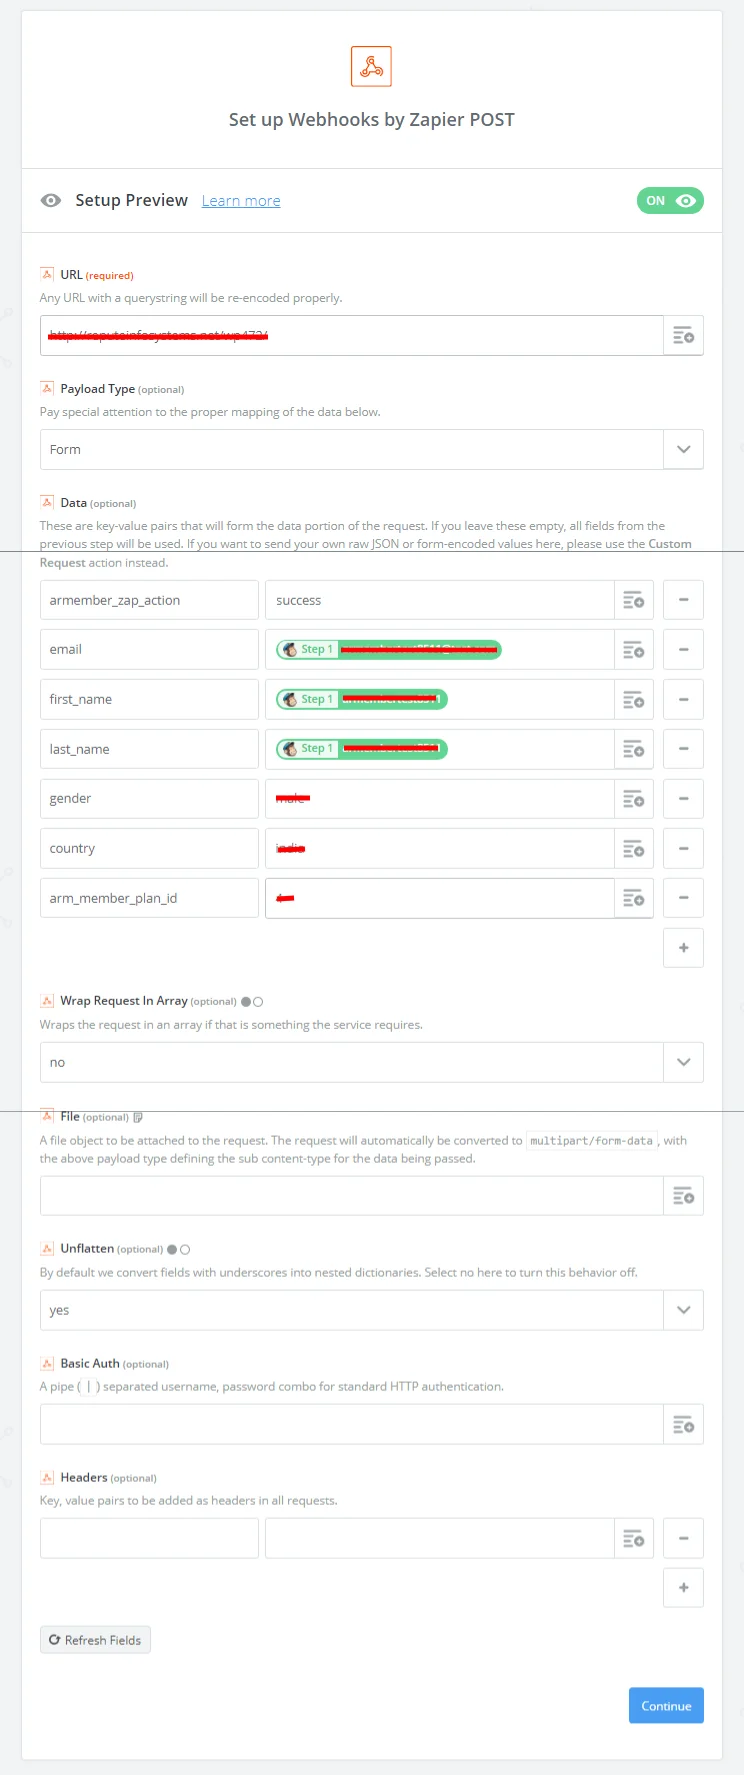
Enter your website URL and data field following setup
armember_zap_action⇾success
default parameter like email(required), first_name, last_name, user_login, password, display_name, user_nicename, user_url, custom field and assign membership plan (arm_member_plan_id) add and continuePlease see below screenshot.

Add armember_zap_action as mandatory field for creating user using zapier webhook. with set value as at ARMember zapier settings.
After all field setup click on
Continuebutton. -
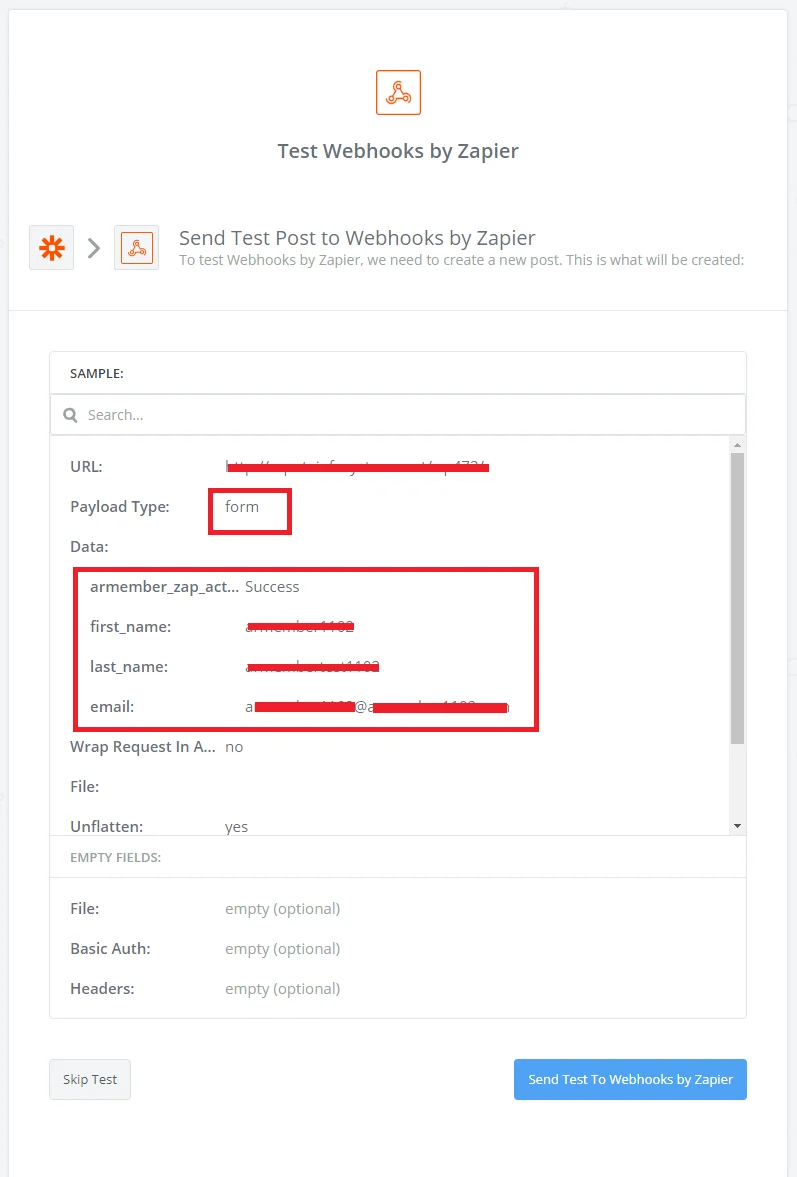
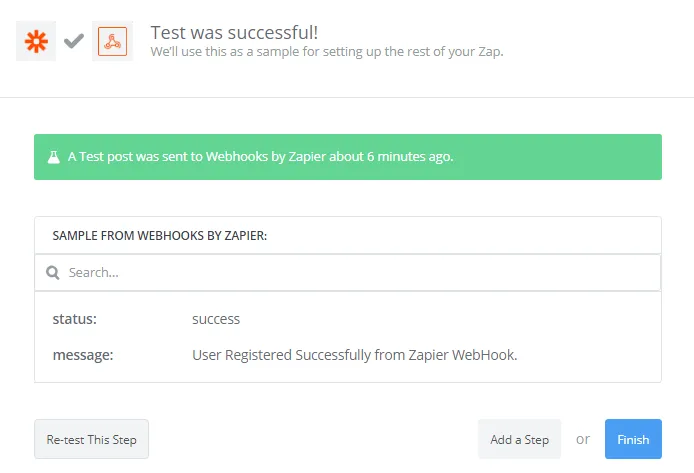
Then after please see below screenshot.

Click on
Send Test to Webhooks by Zapierbutton. -
Then after please see below screenshot.

Click on
Finishbutton. You have successfully set the trigger and action in your zapier account.
-