How to Use Zoho CRM Addon for Email Marketing (opt-in) with ARMember
If you’re looking to integrate ARMember with Zoho CRM, then ARMember Zoho CRM Addon is the perfect solution. This powerful addon allows you to automatically create contacts in your Zoho account whenever a new user registers through any ARMember signup form. Whether you’re running a membership site, offering digital content, or managing user subscriptions, this integration ensures seamless synchronization of user data between ARMember and Zoho CRM.
Important Note: This Addon will only work if ARMember plugin is installed with version 6.9 or higher
ARMember Zoho CRM integration Key Features:
- Easy Installation And Setup
- Easily Create Contact in Zoho Account when New User will register using ARMember Registration Form
Steps For Installation And Activation
You can install this Addon in following two ways.
New installation via FTP
- Download Addon and extract it. You will find a directory armemberzohocrm.
- In your WordPress installation directory, upload armemberzohocrm to
wp-content/plugins/ - Activate the
ARMember Zoho CRM integrationthrough thePluginsmenu from WordPress admin panel.
New installation via the WordPress Uploader
- Download Addon.
- Log in to your WordPress admin panel
- Go to
Plugins⇾Add New⇾Upload - Click on “choose file” and browse the download package. When the Addon uploads successfully, click on
Activate Plugin.
Steps to Set up ARMember Zoho CRM integration
-
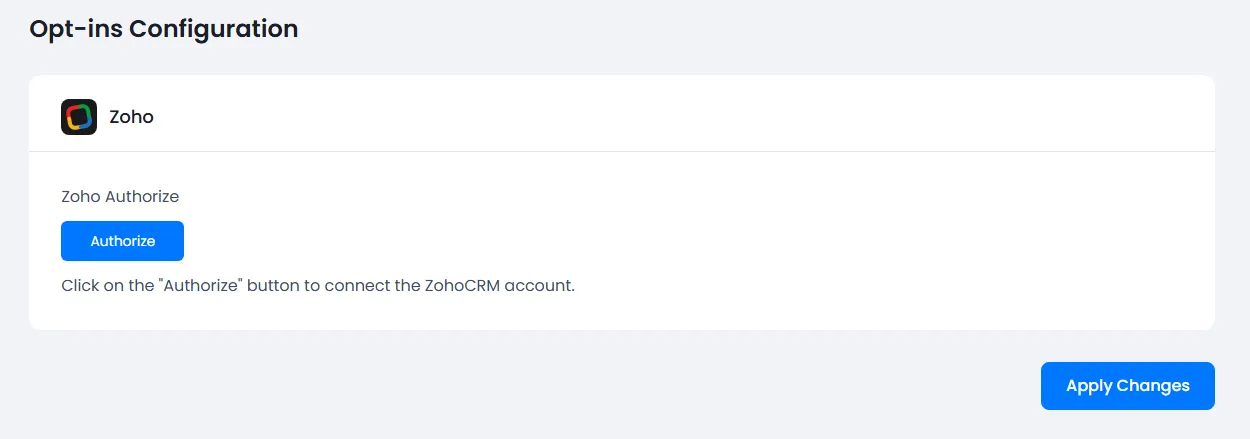
When Addon is activated, Zoho CRM configuration section will be displayed in
ARMember⇾General Settings⇾Opt-ins.
-
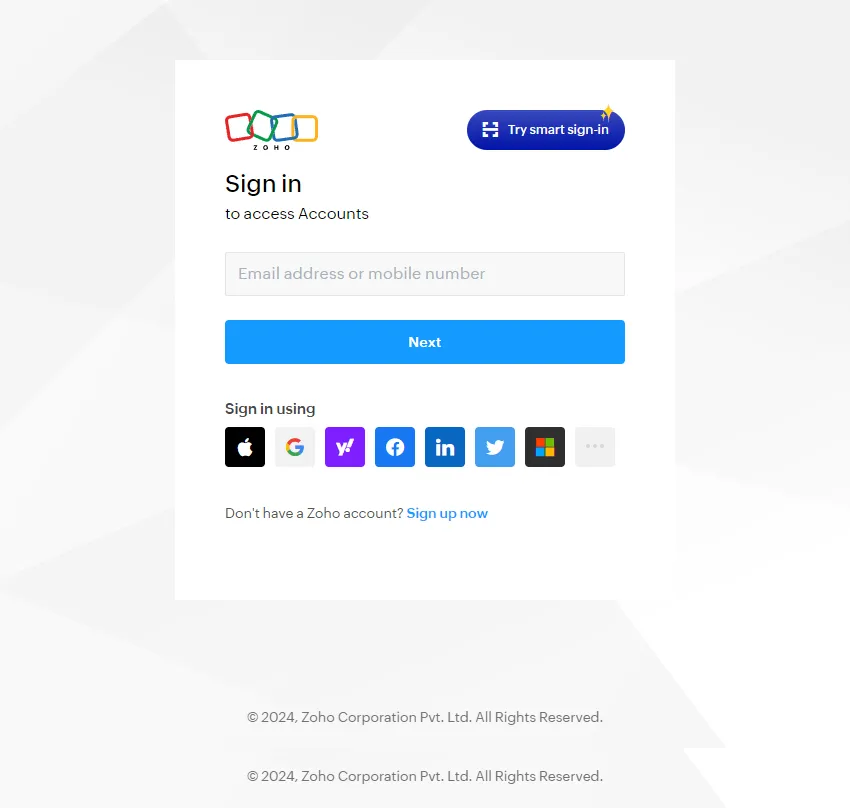
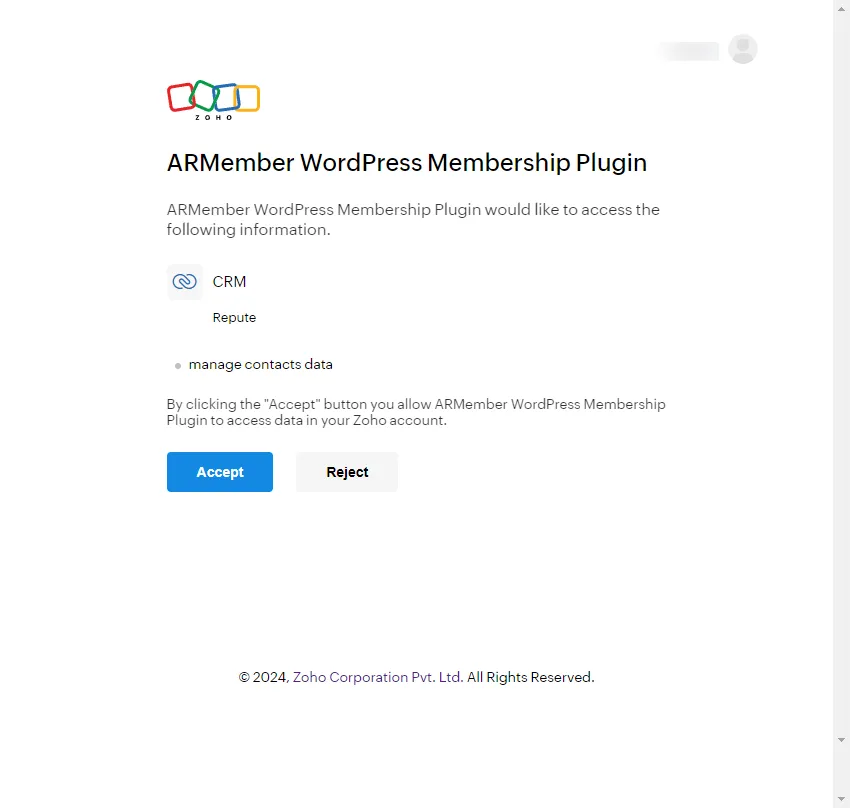
Get an access token by clicking the authorize button. After clicking authorize button, you can follow the step as the below screen.
Here, Sign In With Your ZohoCRM Account’s Credentials.

Click Accept button to get access token.
If it is verified successfully then it will give success message, and add Map Form Fields switch and Sync Contact button.

-
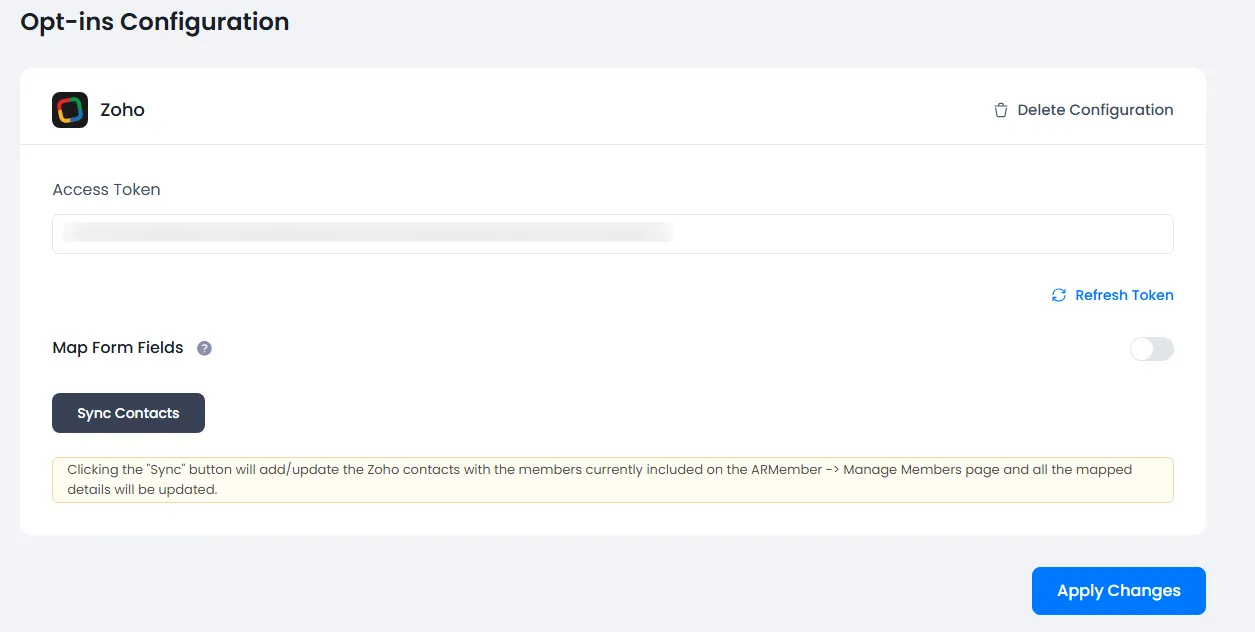
You can delete the Zoho configuration by click on
Delete Configuration, after Delete Configuration save the Opt-ins Configuration page.You can refresh the Zoho configuration by click on
Refresh List. -
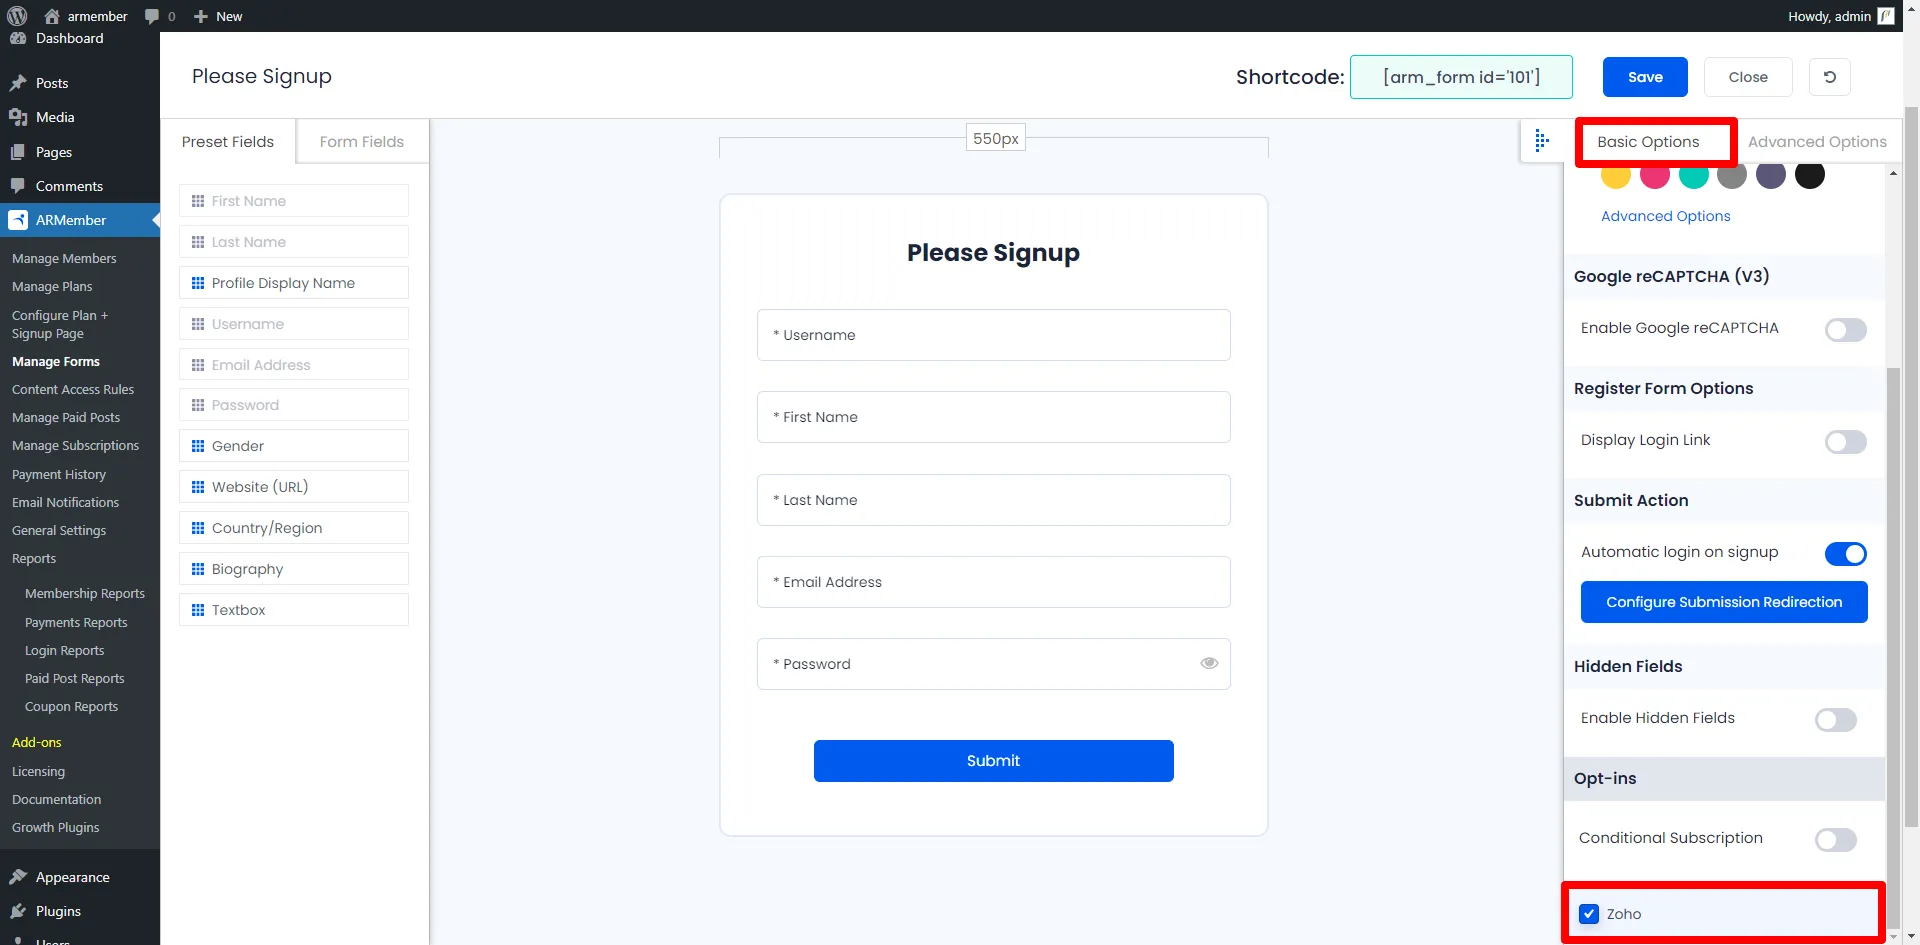
After setup completes, go to Manage Forms page, then click on edit link of your Registration Form. You can see Zoho checkbox under Opt-ins in Right panel.
Check this checkbox for the ZohoCRM.

-
Click Save Button. Now All is Set.
-
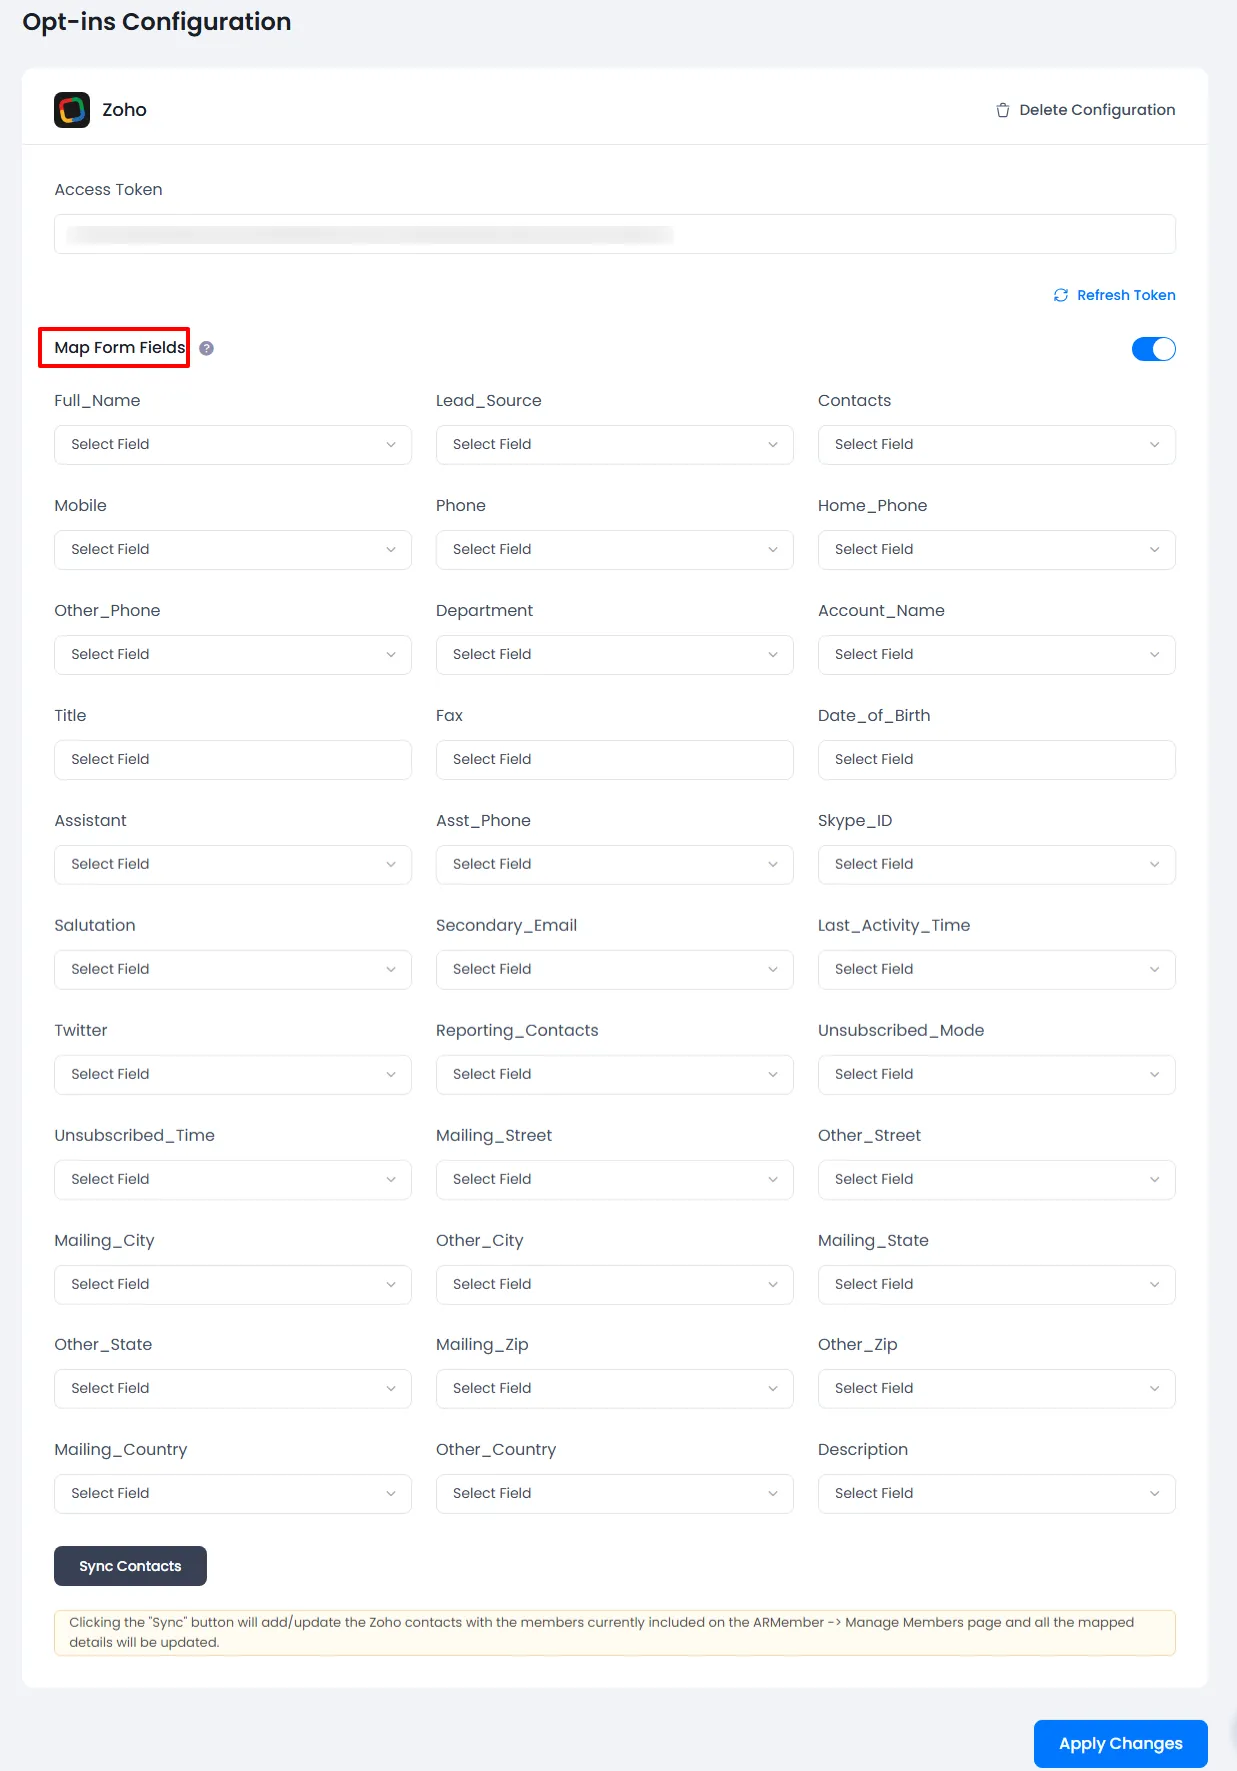
You can map a Zoho field with ARMember form fields to store member data to Zoho.
Enable
Map Form Fieldsoption in Zoho opt-ins. Map a field as per your requirements.
-
You can sync all your ARMember member into Zoho subscriber using
Sync Contactsbutton.Also, you can sync custom field with Sync Contact if you have enabled switch
Map Form Field.Please see below screenshot
-
When new user register with ARMember register form contact will add in “Zoho Account” with Email Address, First Name and Last Name.
To get more information in Zoho CRM, please refer Zoho CRM User Guide.
After this setup, you will find all users in your Zoho account under
Contact, who will register to your website using this registration form. For Zoho Contact check this out.

Opt-in data will be updated on the below provided actions:
- On Simple Register form submission.
- On Purchase Membership Plan.
- On Import Users from the ARMember.
- Admin can Sync Existing member data from Admin Panel to Opt-ins
Debug Logs
ARMember does provide a facility to know whether the data is being properly added to the email marketing platform or not through the debug logs, in order to enable this navigate to the ARMember ⇾ General Settings ⇾ Debug Log Settings page, over here enable the logs for the “Opt-ins” and save the changes.
Once the logs are enabled, after that you can check the logs.