Configure ARMember Square Payment Gateway
How to integrate Square Payment Gateway with ARMember Pro Plugin
Overview
Integrate the Square Payment Gateway with your ARMember-powered membership website to accept secure online payments with ease. This add-on allows you to connect your Square account with ARMember and enable seamless membership plan payments directly from your signup pages. In this guide, you will learn how to install and activate the ARMember Square Payment Gateway add-on, configure your Square account credentials, set up the required callback URL, and enable Square payments for your membership plans. Follow the step-by-step instructions below to complete the integration successfully.
Steps For Installation And Activation
You can install plugins in the following two ways. and the ARMember Square payment gateway plugin requires the ARMember plugin installed and active.
New install via FTP
- Download the plugin and extract it. You will find a directory armembersquare.
- In your WordPress installation directory, upload armembersquare to
wp-content/plugins/ - Activate the
ARMember - Square payment gatewayplugin through thePluginsmenu from the WordPress admin panel.
New install via the WordPress Uploader
- Download the plugin.
- Log in to your WordPress admin panel
- Go to
Plugins⇾Add New⇾Upload - Click on “choose file” and browse the download package. When the plugin uploads successfully, click on
Activate Plugin.
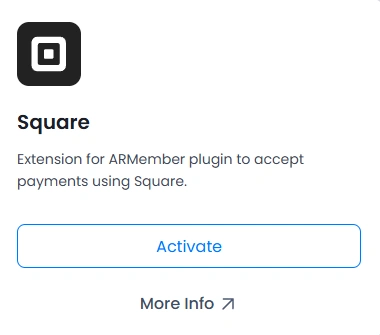
You can also find this plugin from ARMember ⇾ Add-ons. When this plugin get activated to your site, you will get an additional option in ARMember ⇾ General Settings ⇾ Payment Gateways.
Choose Currency
The very first step is to select your desired currency of choice. To set the currency, navigate to the ARMember ⇾ General Settings page, and here check the option for default currency and select the currency that works for you. ARMember provides a wide range of currencies to choose from; however, if you feel like adding your desired currency, then you can add the custom currency too.
ARMember Square Addon Supported Currencies
- Australian dollar:
AUD - Brazilian real:
BRL - Canadian dollar:
CAD - Czech koruna:
CZK - Danish krone:
DKK - Euro:
EUR - Hong Kong dollar:
HKD - Hungarian forint:
HUF - Israeli new shekel:
ILS - Japanese yen:
JPY - Malaysian ringgit:
MYR - Mexican peso:
MXN - New Taiwan dollar:
TWD - New Zealand dollar:
NZD - Norwegian krone:
NOK - Philippine peso:
PHP - Polish złoty:
PLN - Pound sterling:
GBP - Russian Ruble:
RUB - Singapore dollar:
SGD - Swedish krona:
SEK - Swiss franc:
CHF - Thai baht:
THB - United States dollar:
USD - Turkish Lira:
TRY - Indian Rupee:
INR
Important Notes to remember before configuring Square
- This add-on will work with ARMember version 3.0 or higher.
- Square’s payment gateway only works with secure sites. For e.g. https://
Steps to Set Up Square For Your Website
In order to enable the Square Payment Gateway, first navigate to the ARMember ⇾ General Settings ⇾ Payment Gateways page, and here enable the switch for the Square payment gateway.
Obtain API Credentials from Square
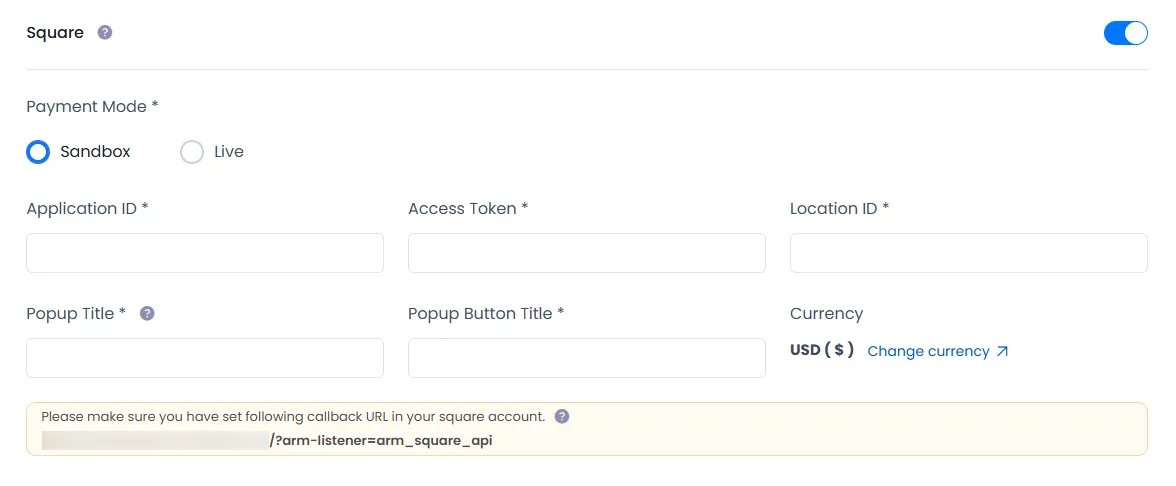
In order to configure the Square Payment Gateway, the following things are required: like Application ID, Access Token, and Location ID to use the Square Payment method.
- Firstly, if you do not have a Square account, then create it. For a sandbox/production account, click here.
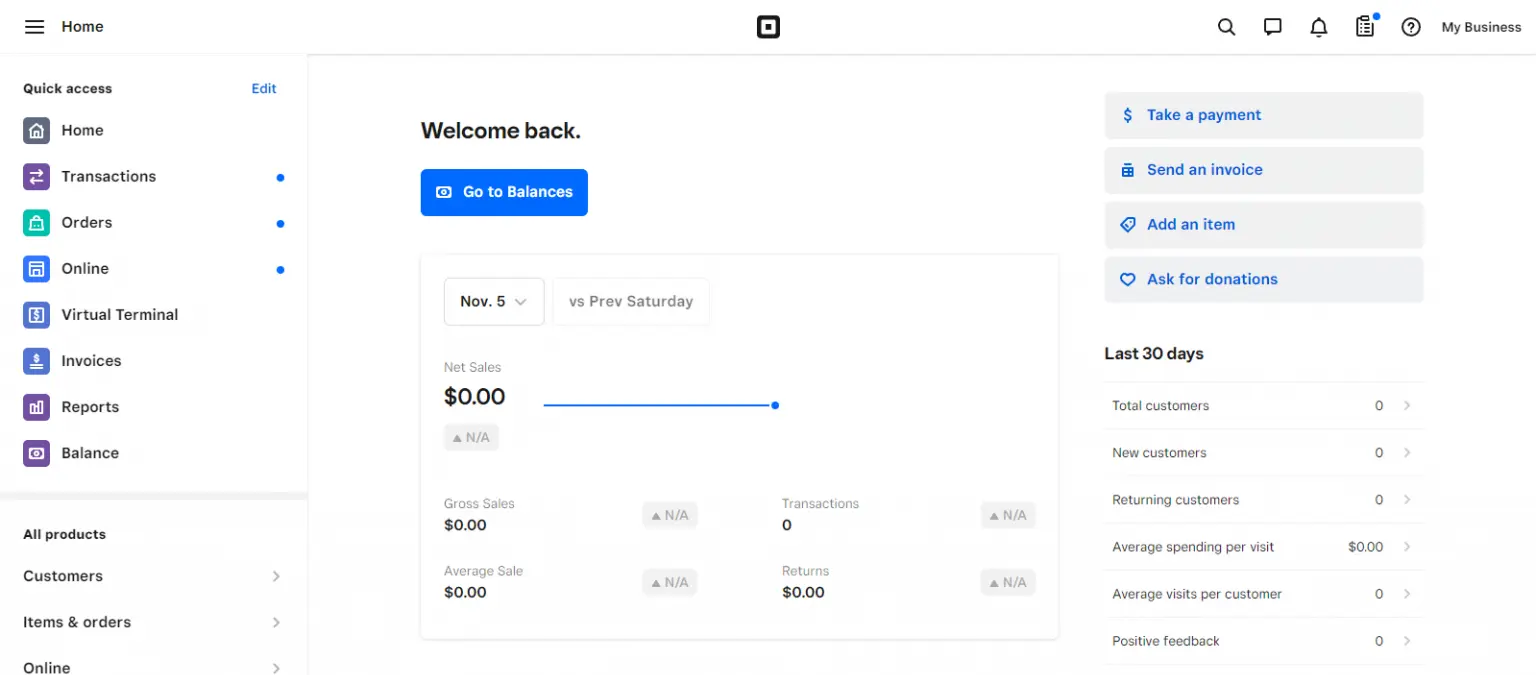
- Log in to your Square Developer account and head over to your Square Developer Dashboard
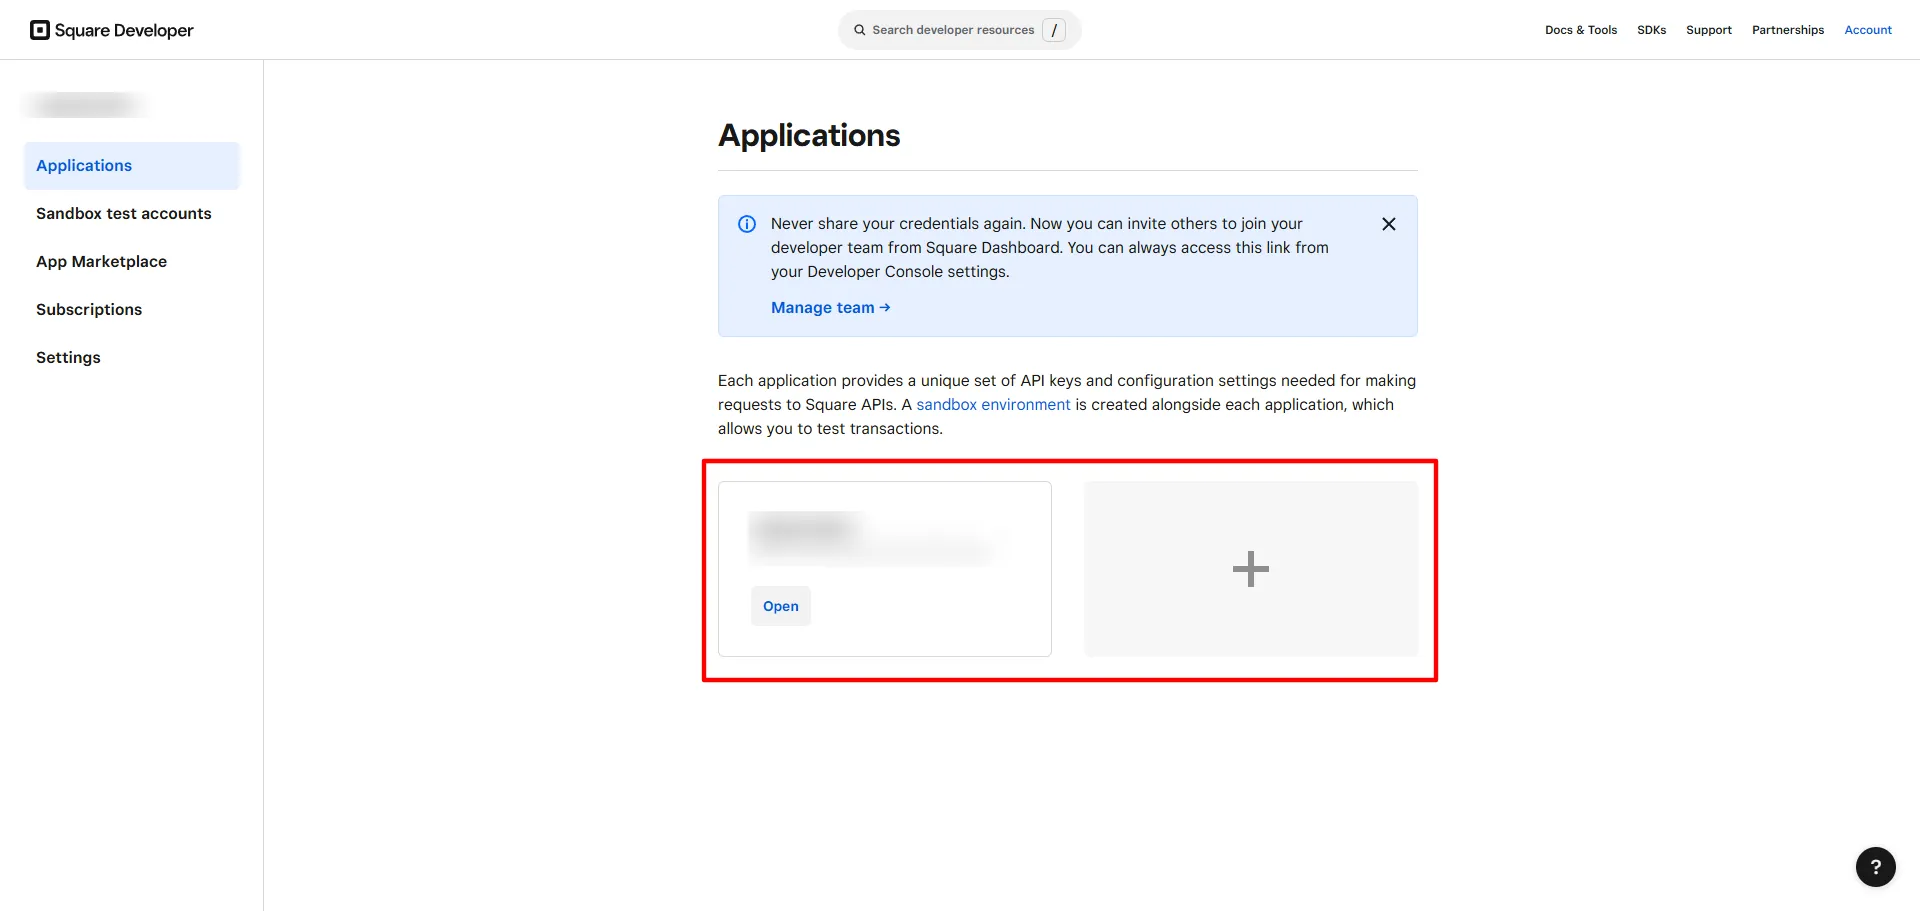
- Create a new application (if you don’t have one); you can easily go to the step by clicking on the link here.
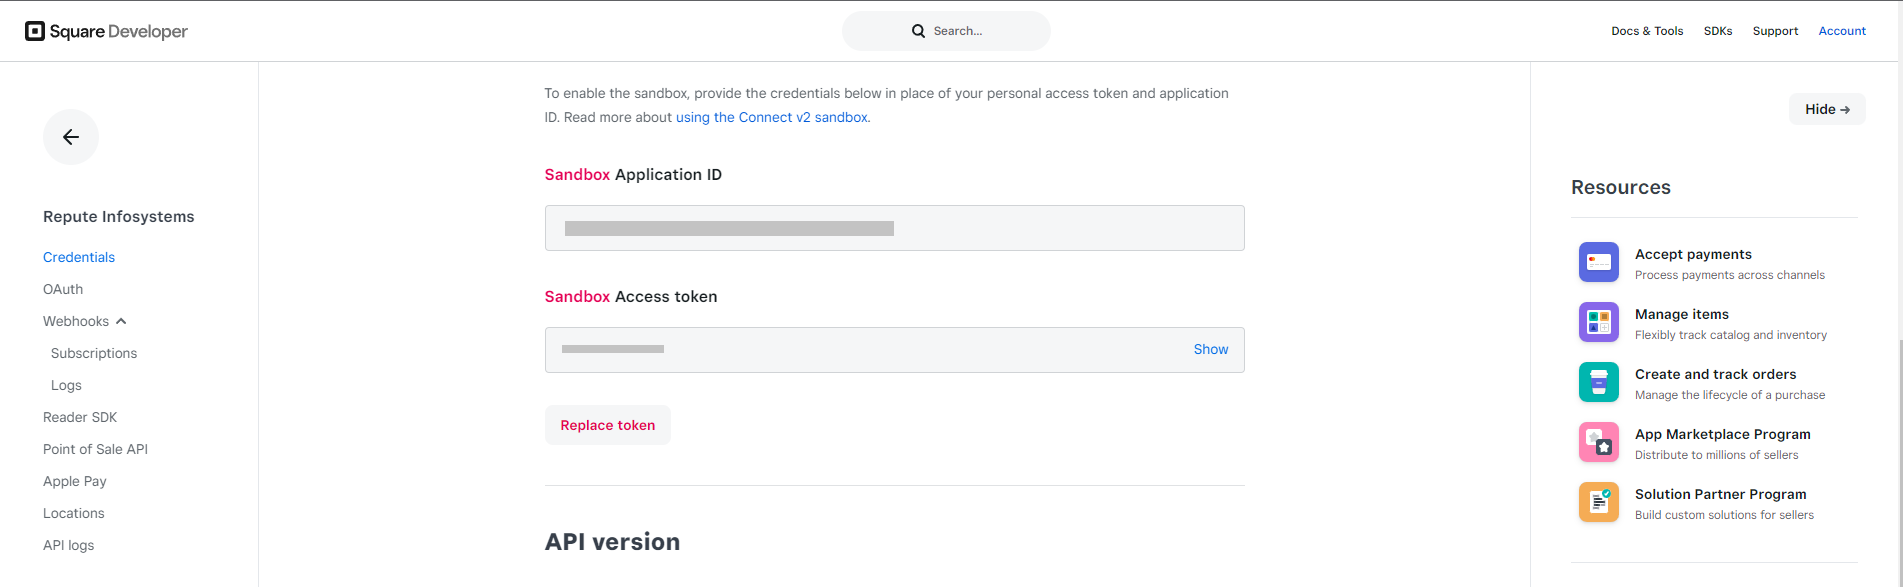
- Click on the Open button at Apps and select your payment mode, Sandbox or Production. After selecting the payment mode, you can see your application ID & access token.
- For your locations, from the sidebar, click on Locations. Here, simply choose the Sandbox or Production/Live payment method, and you will find the Location ID.
- After gathering the credentials, add them to your ARMember Square Payment Gateway settings.
- Log in to your Square account
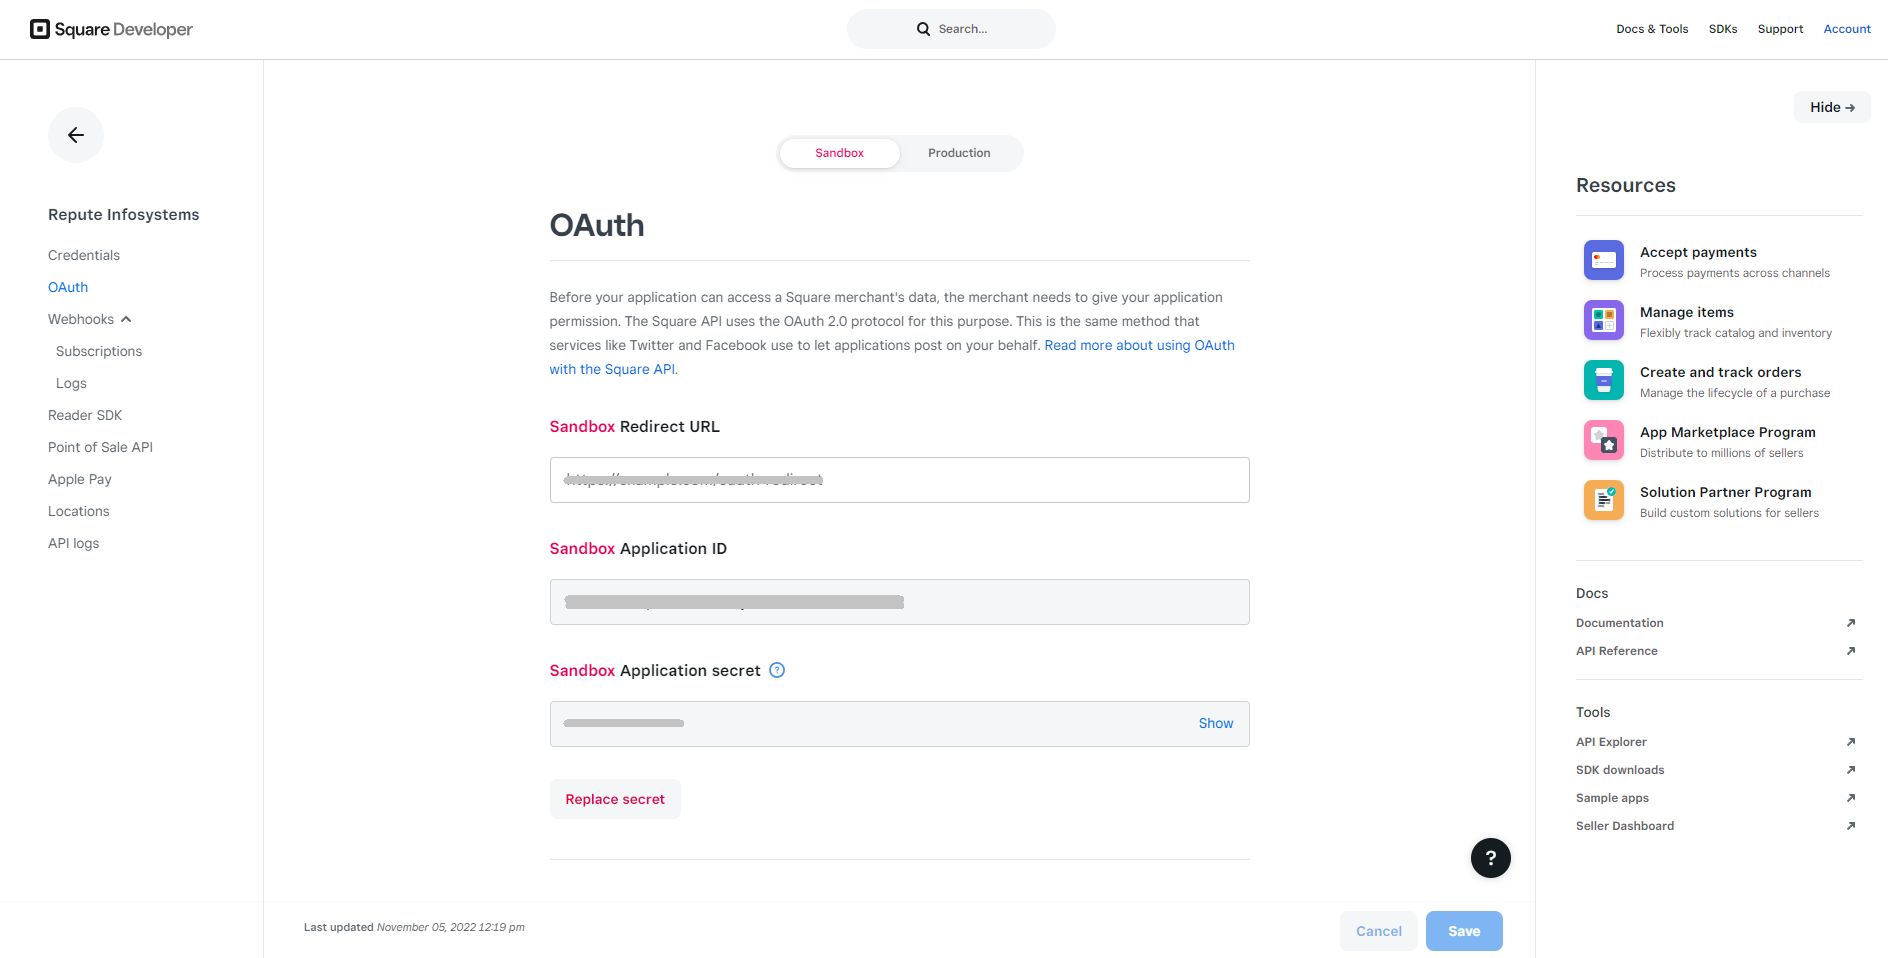
- At the sidebar, click on the OAuth Panel.
- On this page, click on the OAuth Tab.
- Here, set the callback URL
http://yoursite.com/?arm-listener=arm_square_apiin the Redirect URL textbox under the OAuth section. You can also get the Callback URL from theARMember⇾General Settings⇾Payment Gatewayspage. Here at Square you will be able to check the Callback URL in a box, copy it, and add it to the Redirect URL. - Click on the Save button.

How to set a callback URL?
Follow the below steps to set the Callback URL in your Square account
Adding Payment Gateway for Front-End View
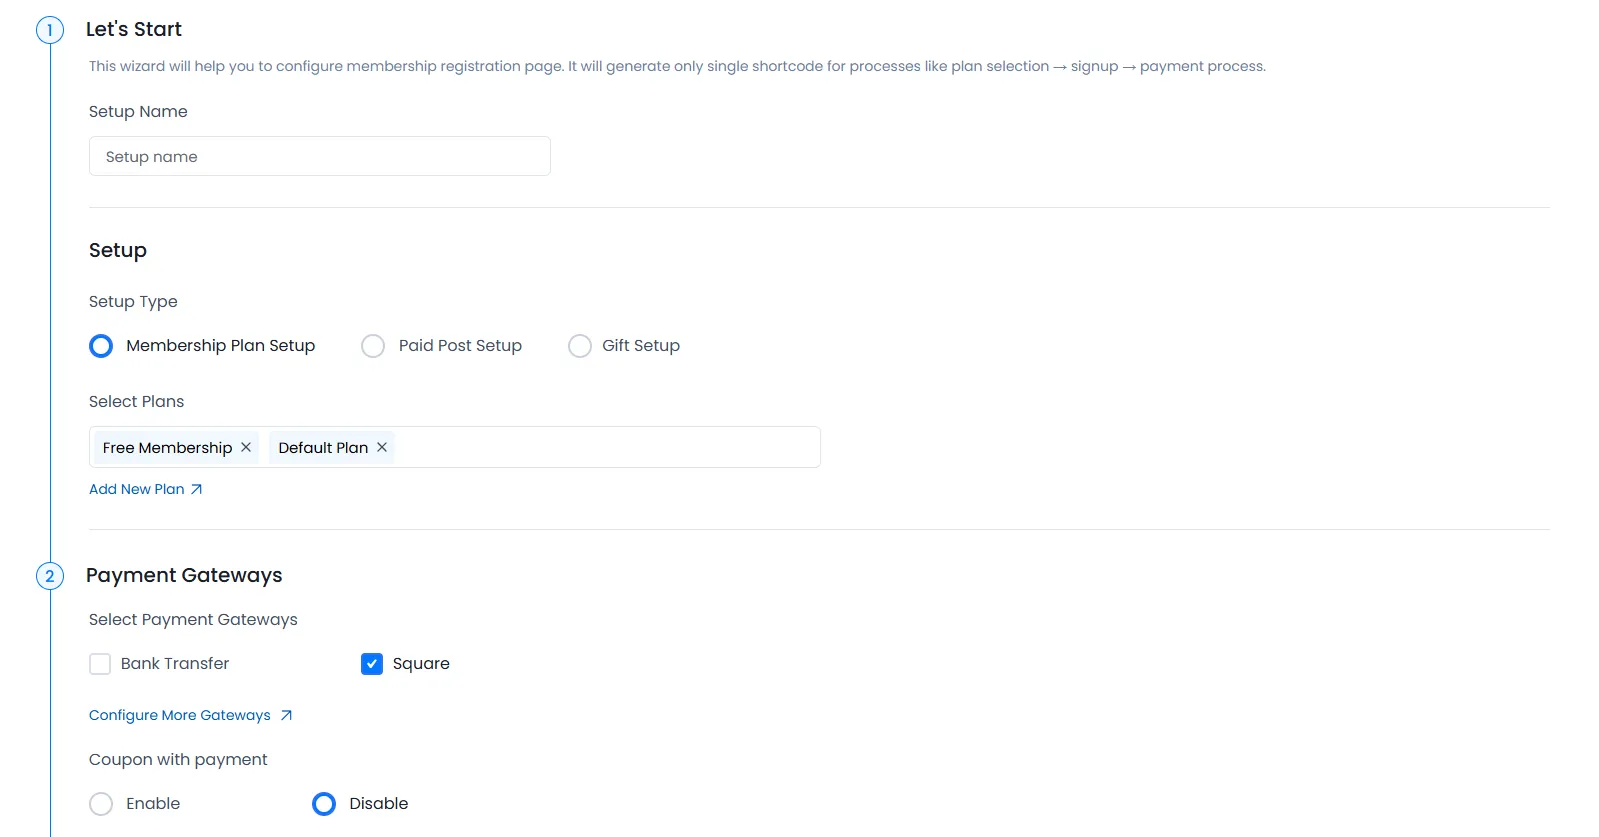
Firstly, navigate to the ARMember ⇾ Manage Plans Page and create a plan accordingly.
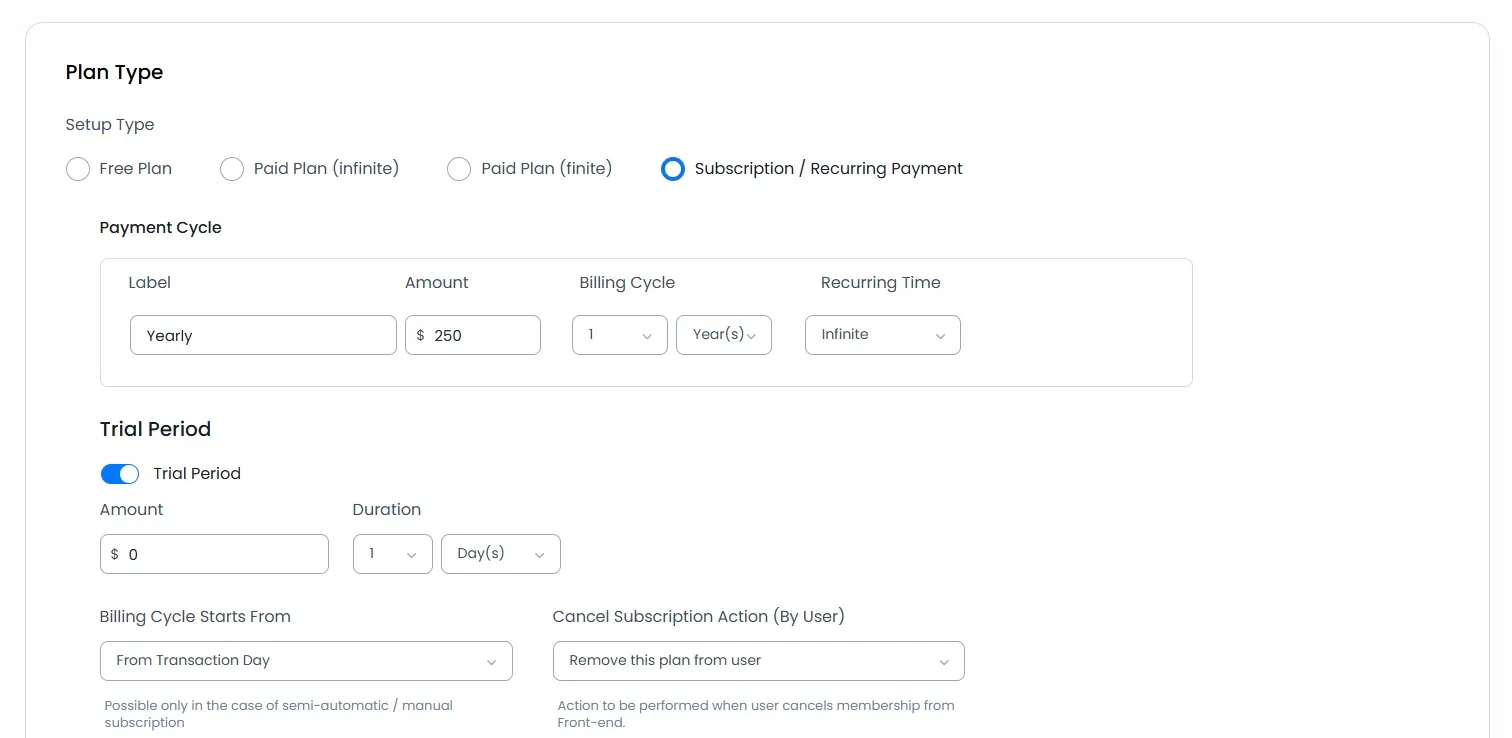
Go to your ARMember Configure Plan + Signup Page and select the ARMember Square Integration Gateway. That’s it.
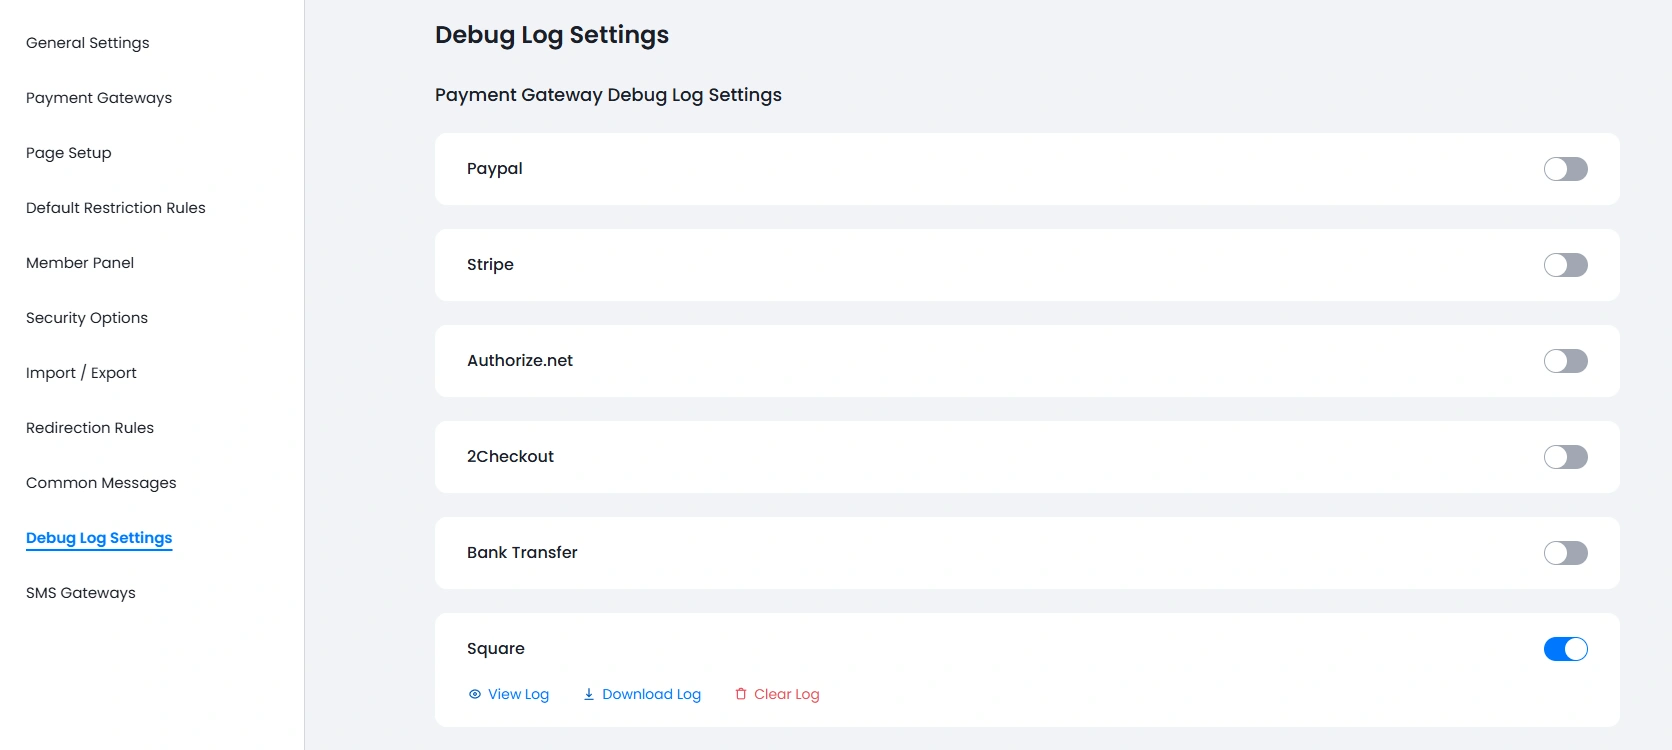
Debug Log Data
ARMember allows you to check the data that are being received from the payment gateways, whereby you can analyze whether the webhook_data event is reaching your site or not. As the ARMember will take any action on the basics of what is webhook_data received.
To enable the logs, navigate to the ARMember ⇾ General Settings ⇾ Debug Log Settings page. Here an option is available: Payment Gateway Debug Log Settings, under which you can enable the switch for Square and then save the changes. For more information, you can click here.